[I don’t have a day by day update for this week, since my progress has been slow.]
For the design week, I started off by watching a fab academy video.
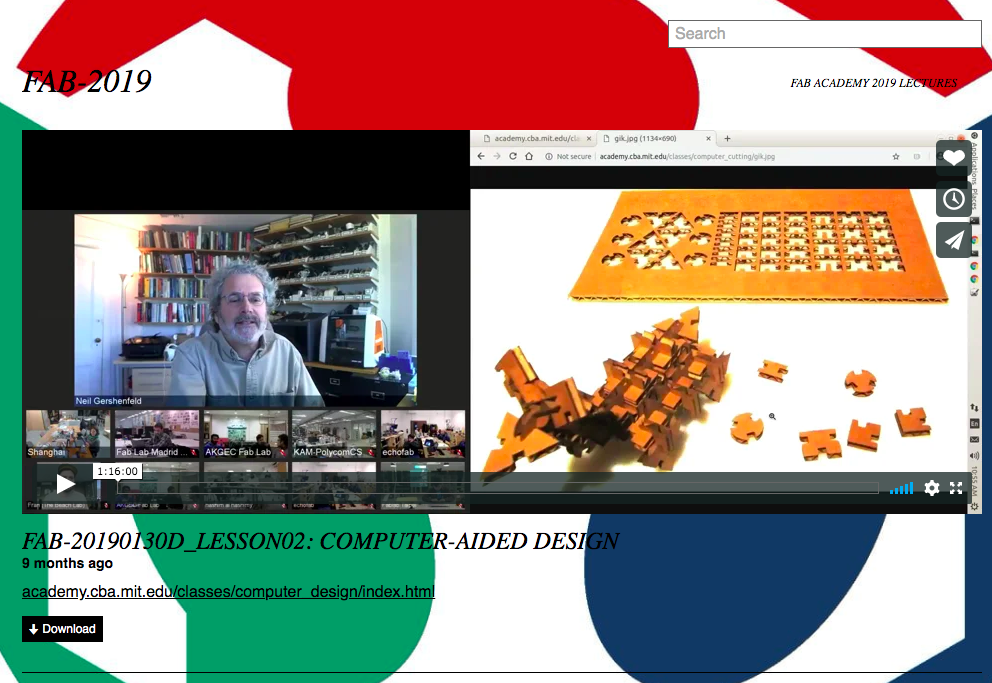
According to the video, for this week, I had to pick any final project that I wanted to work on, and learn to design it using the tools that the video covered.
For 2D design, the following tools were recommended,
Raster
- GIMP
- Photoshop
- Mypaint for sketches (lets you choose material brush – emulates drawing on material)
- Image magick (can convert existing image into any image format)
Vector
- Inkscape
- Illustrator
- Free CAD video
- Free CAD
- Corel Draw
- Layout
- Scribus
For 3D DESIGN, some of the common terminologies we will be using as the weeks go by are
- CSG - Adding logic on shapes
- Constrained - adding relationships between drawings
- Hierarchical - changing one part changes everything associated with it
- Parametric - Everything in the drawing changes with a change in the parameters
For 3D, the video tutorial recommended the following tools,
- Sketechup
- TinderCAD
- Blender
- Rhinocerous
- Grasshopper
- Free CAD
- Fusion 360
- Autodesk
- Solidworks
- xDesign
- Onshape
- Maya alias 3Ds Max Cinema 4D houdini
- Catia Creo NX
- Magica Voxel Monolith
For simulations, the tutorial recommended the following tools,
- Elmer
- Cosmol
- Simulation Simuli Abagus
- Fusion 360
- Ansys
- Nostrom
- Open dynamics engine
- Modelica
For audio and video editing, the tutorial recommended the following tools,
- Simple screen recorder
- Audacity
- Premiere after effects
- mplayer simplayer VLC
- HTML formats encoding
For game engines, the commonly used tools are,
- Unity
- Unreal
The idea behind the design week is to represent a tentative final project in as many ways as I can.
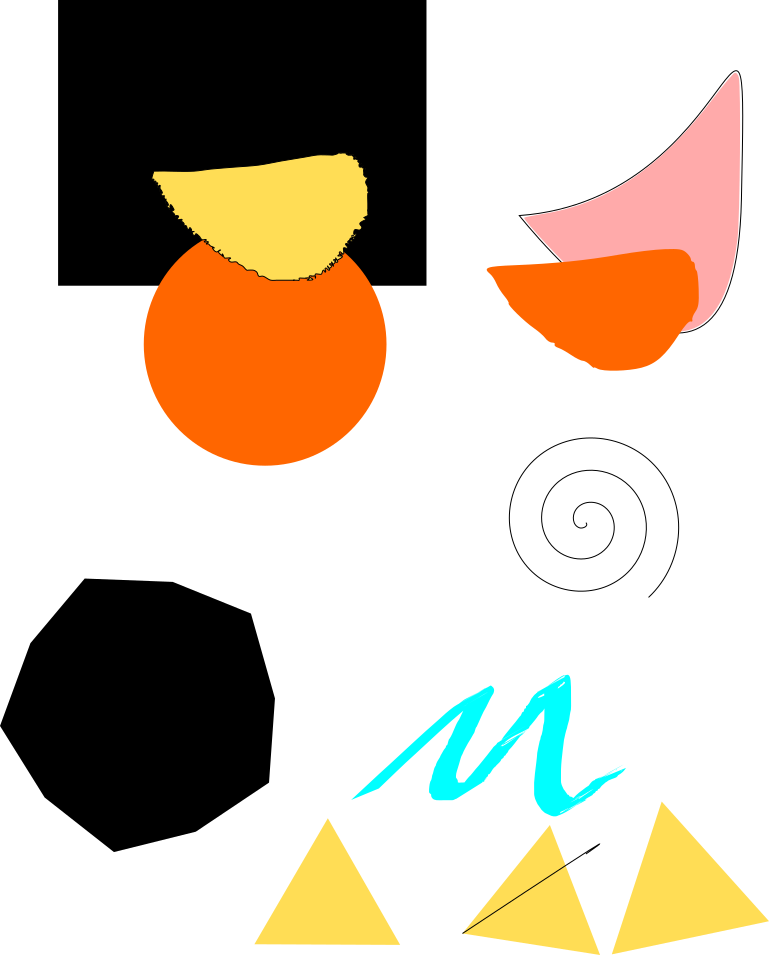
While working through the tools, I worked on creating basic geometric shapes, learning to push and pull, and break and combine objects.
For instance, I used GIMP and Inkscape for 2D design. On both, I learnt to draw basic shapes, combine two shapes. However, I’ve still not been able to subtract one shape from another. [I need to check with Richard on how I can do this on both these tools.]
Exercises on GIMP
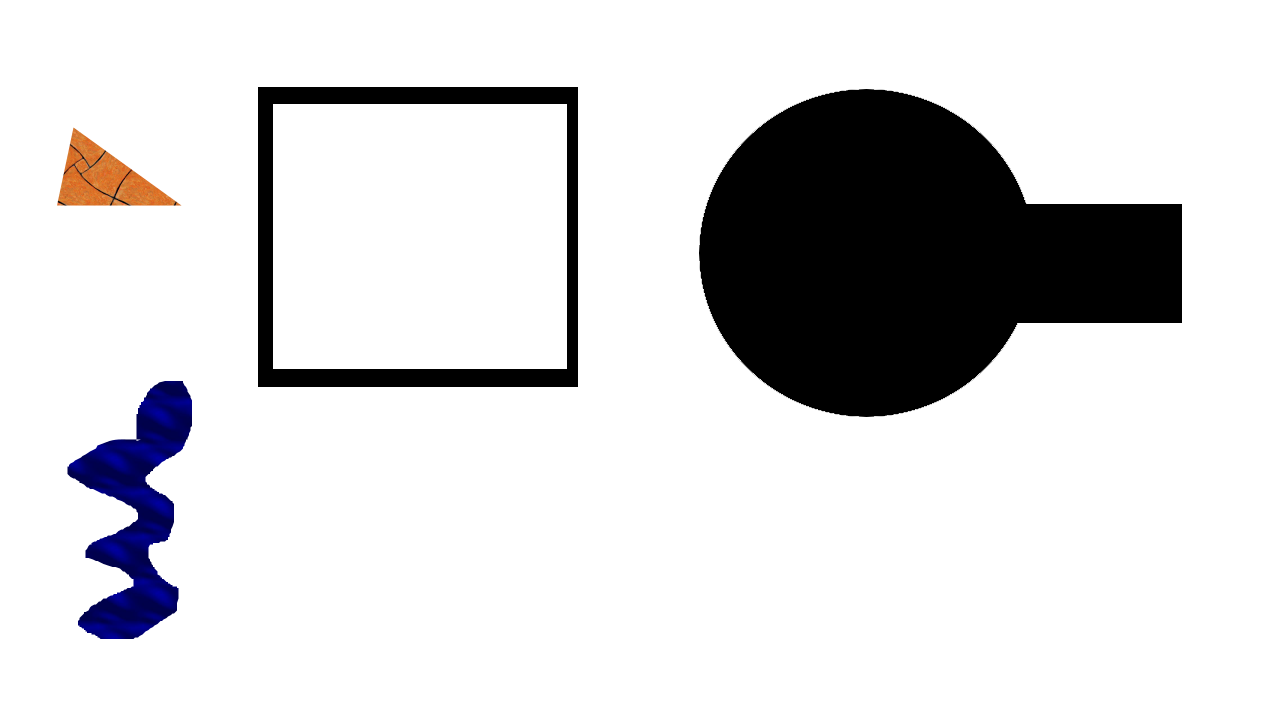
Exercises on Inkscape
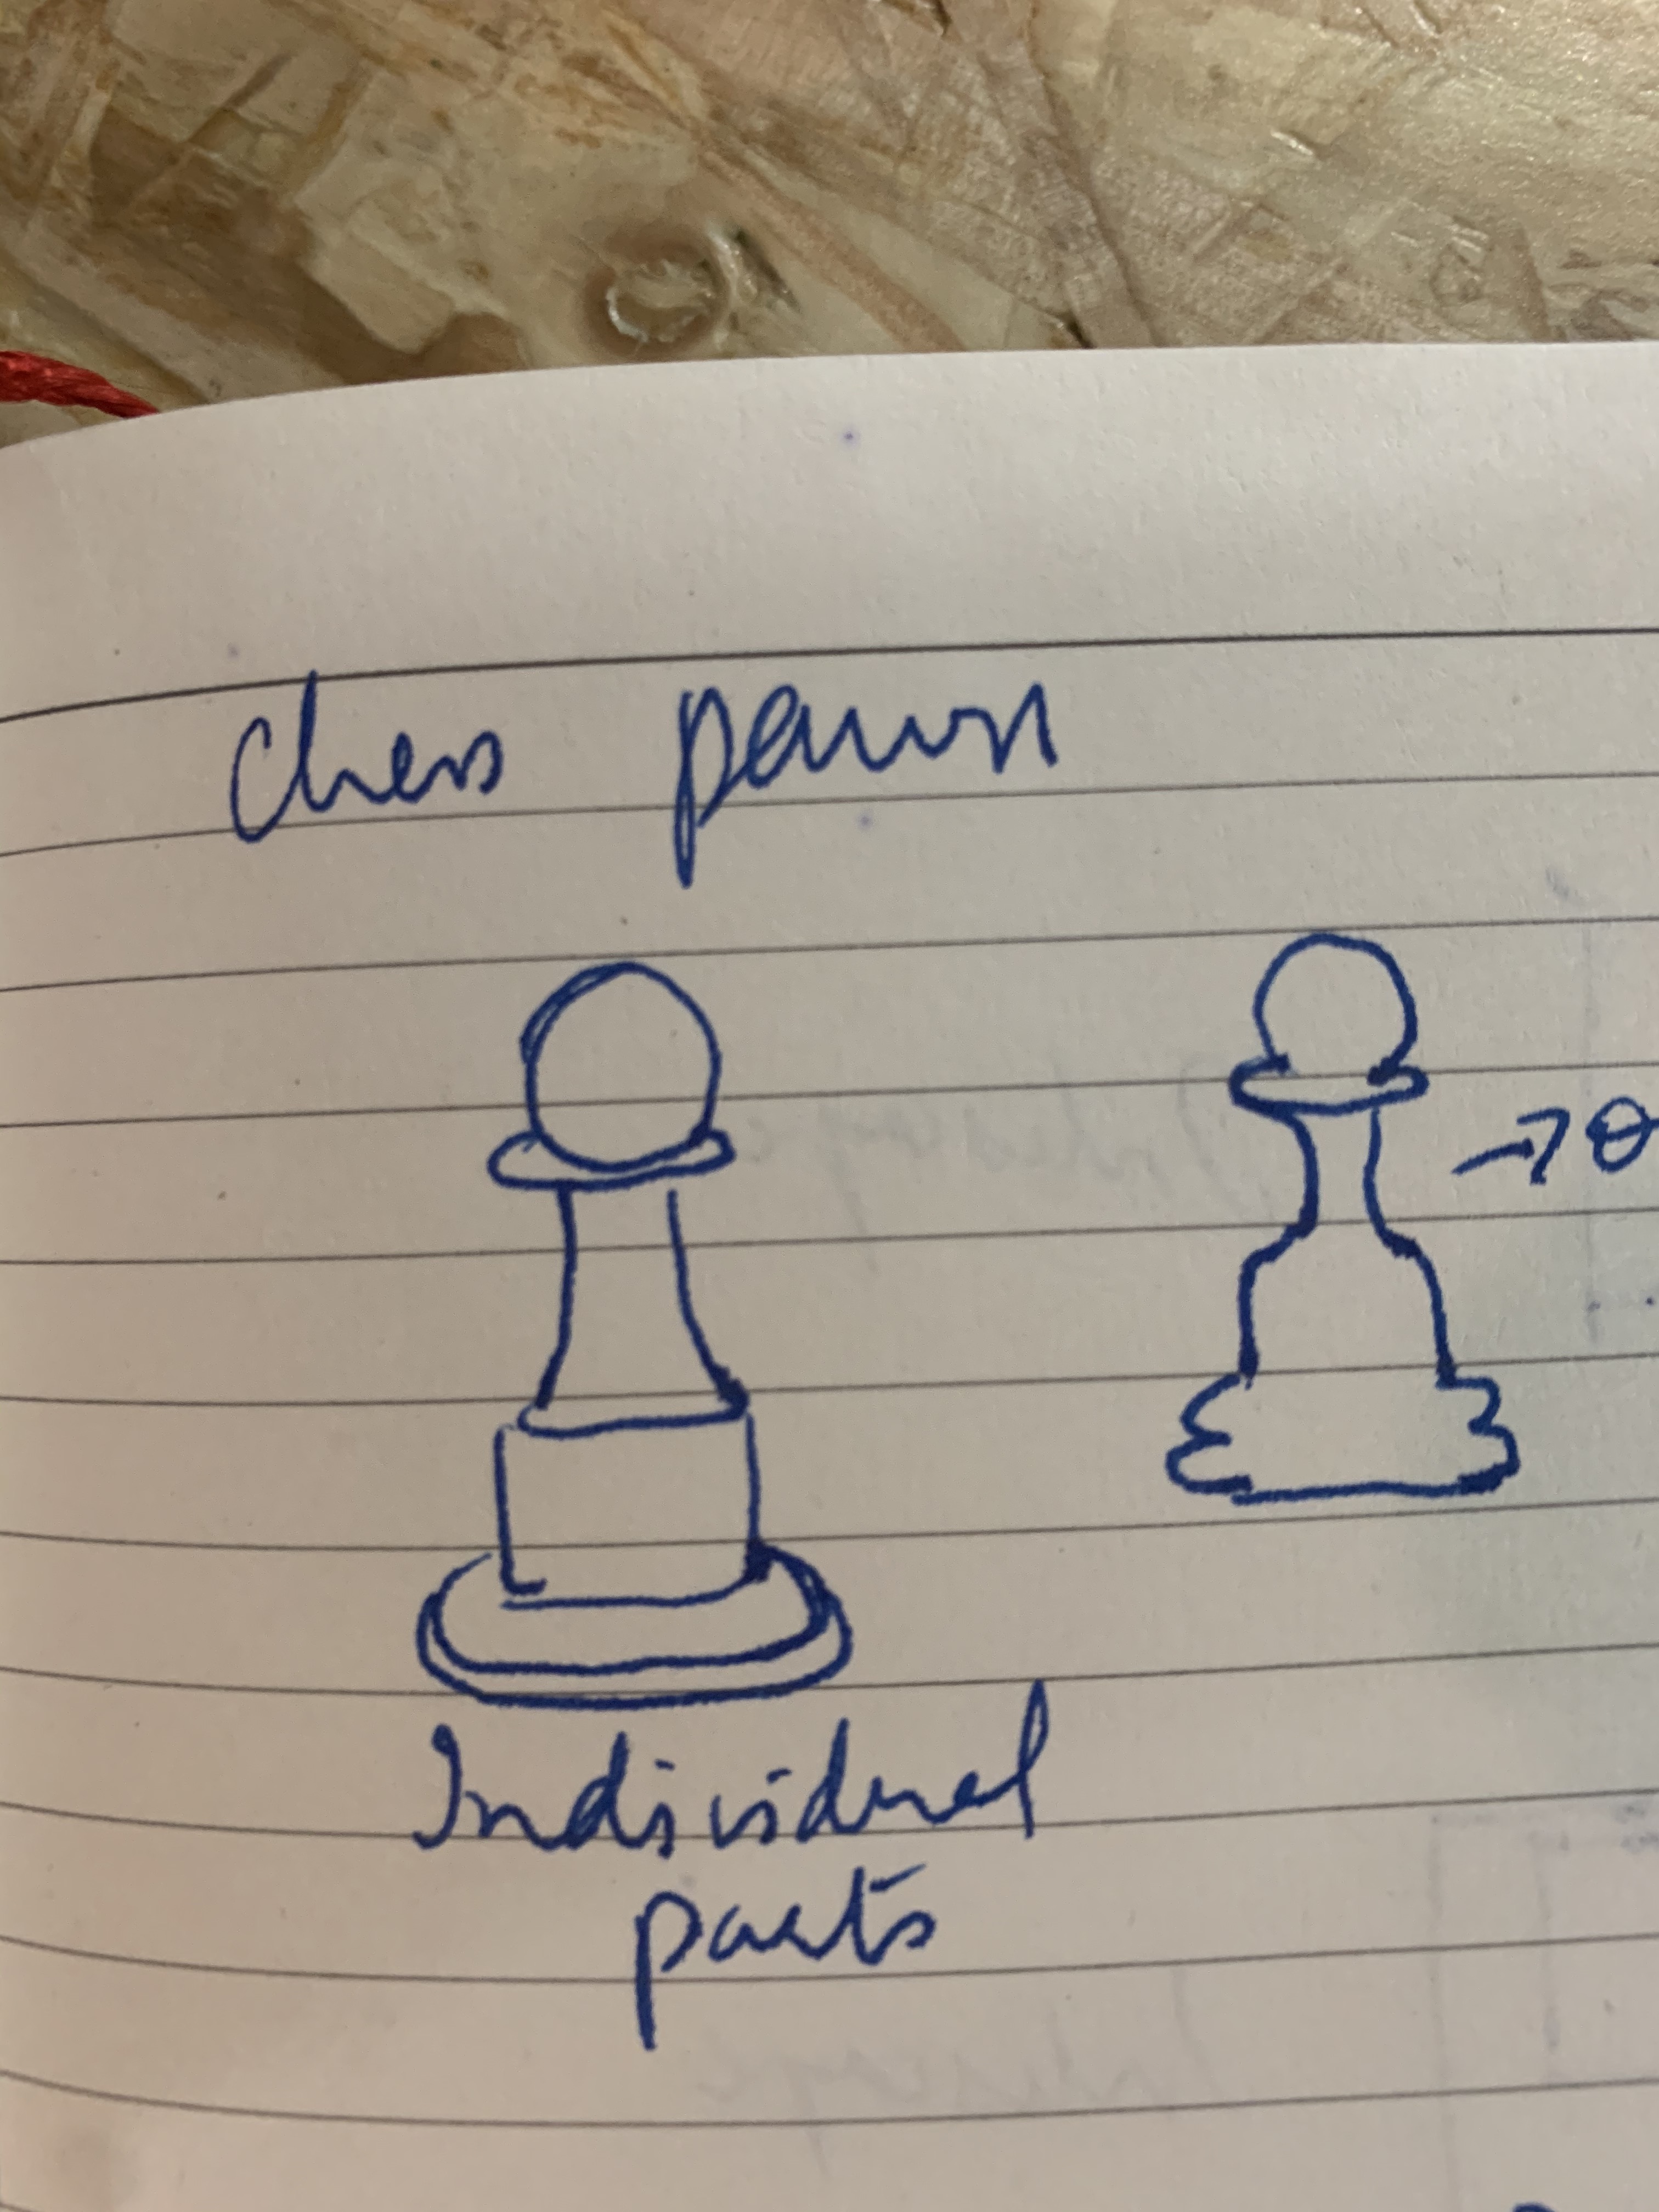
Apart from geometric shapes, I also tried to create objects from day-to-day life. So I designed a chess pawn (on M’s request). To design this pawn, I divided the pawn into multiple geometric shapes and assembled them together. I sketched it out to identify the individual parts, and then used gimp to recreate it. It’s not a perfect pawn – the imperfection I see is around the body of the pawn which is usually curved, while mine is boxy since I used a rectangular shape to create the body. Note to self: Learn to create curved objects on GIMP.

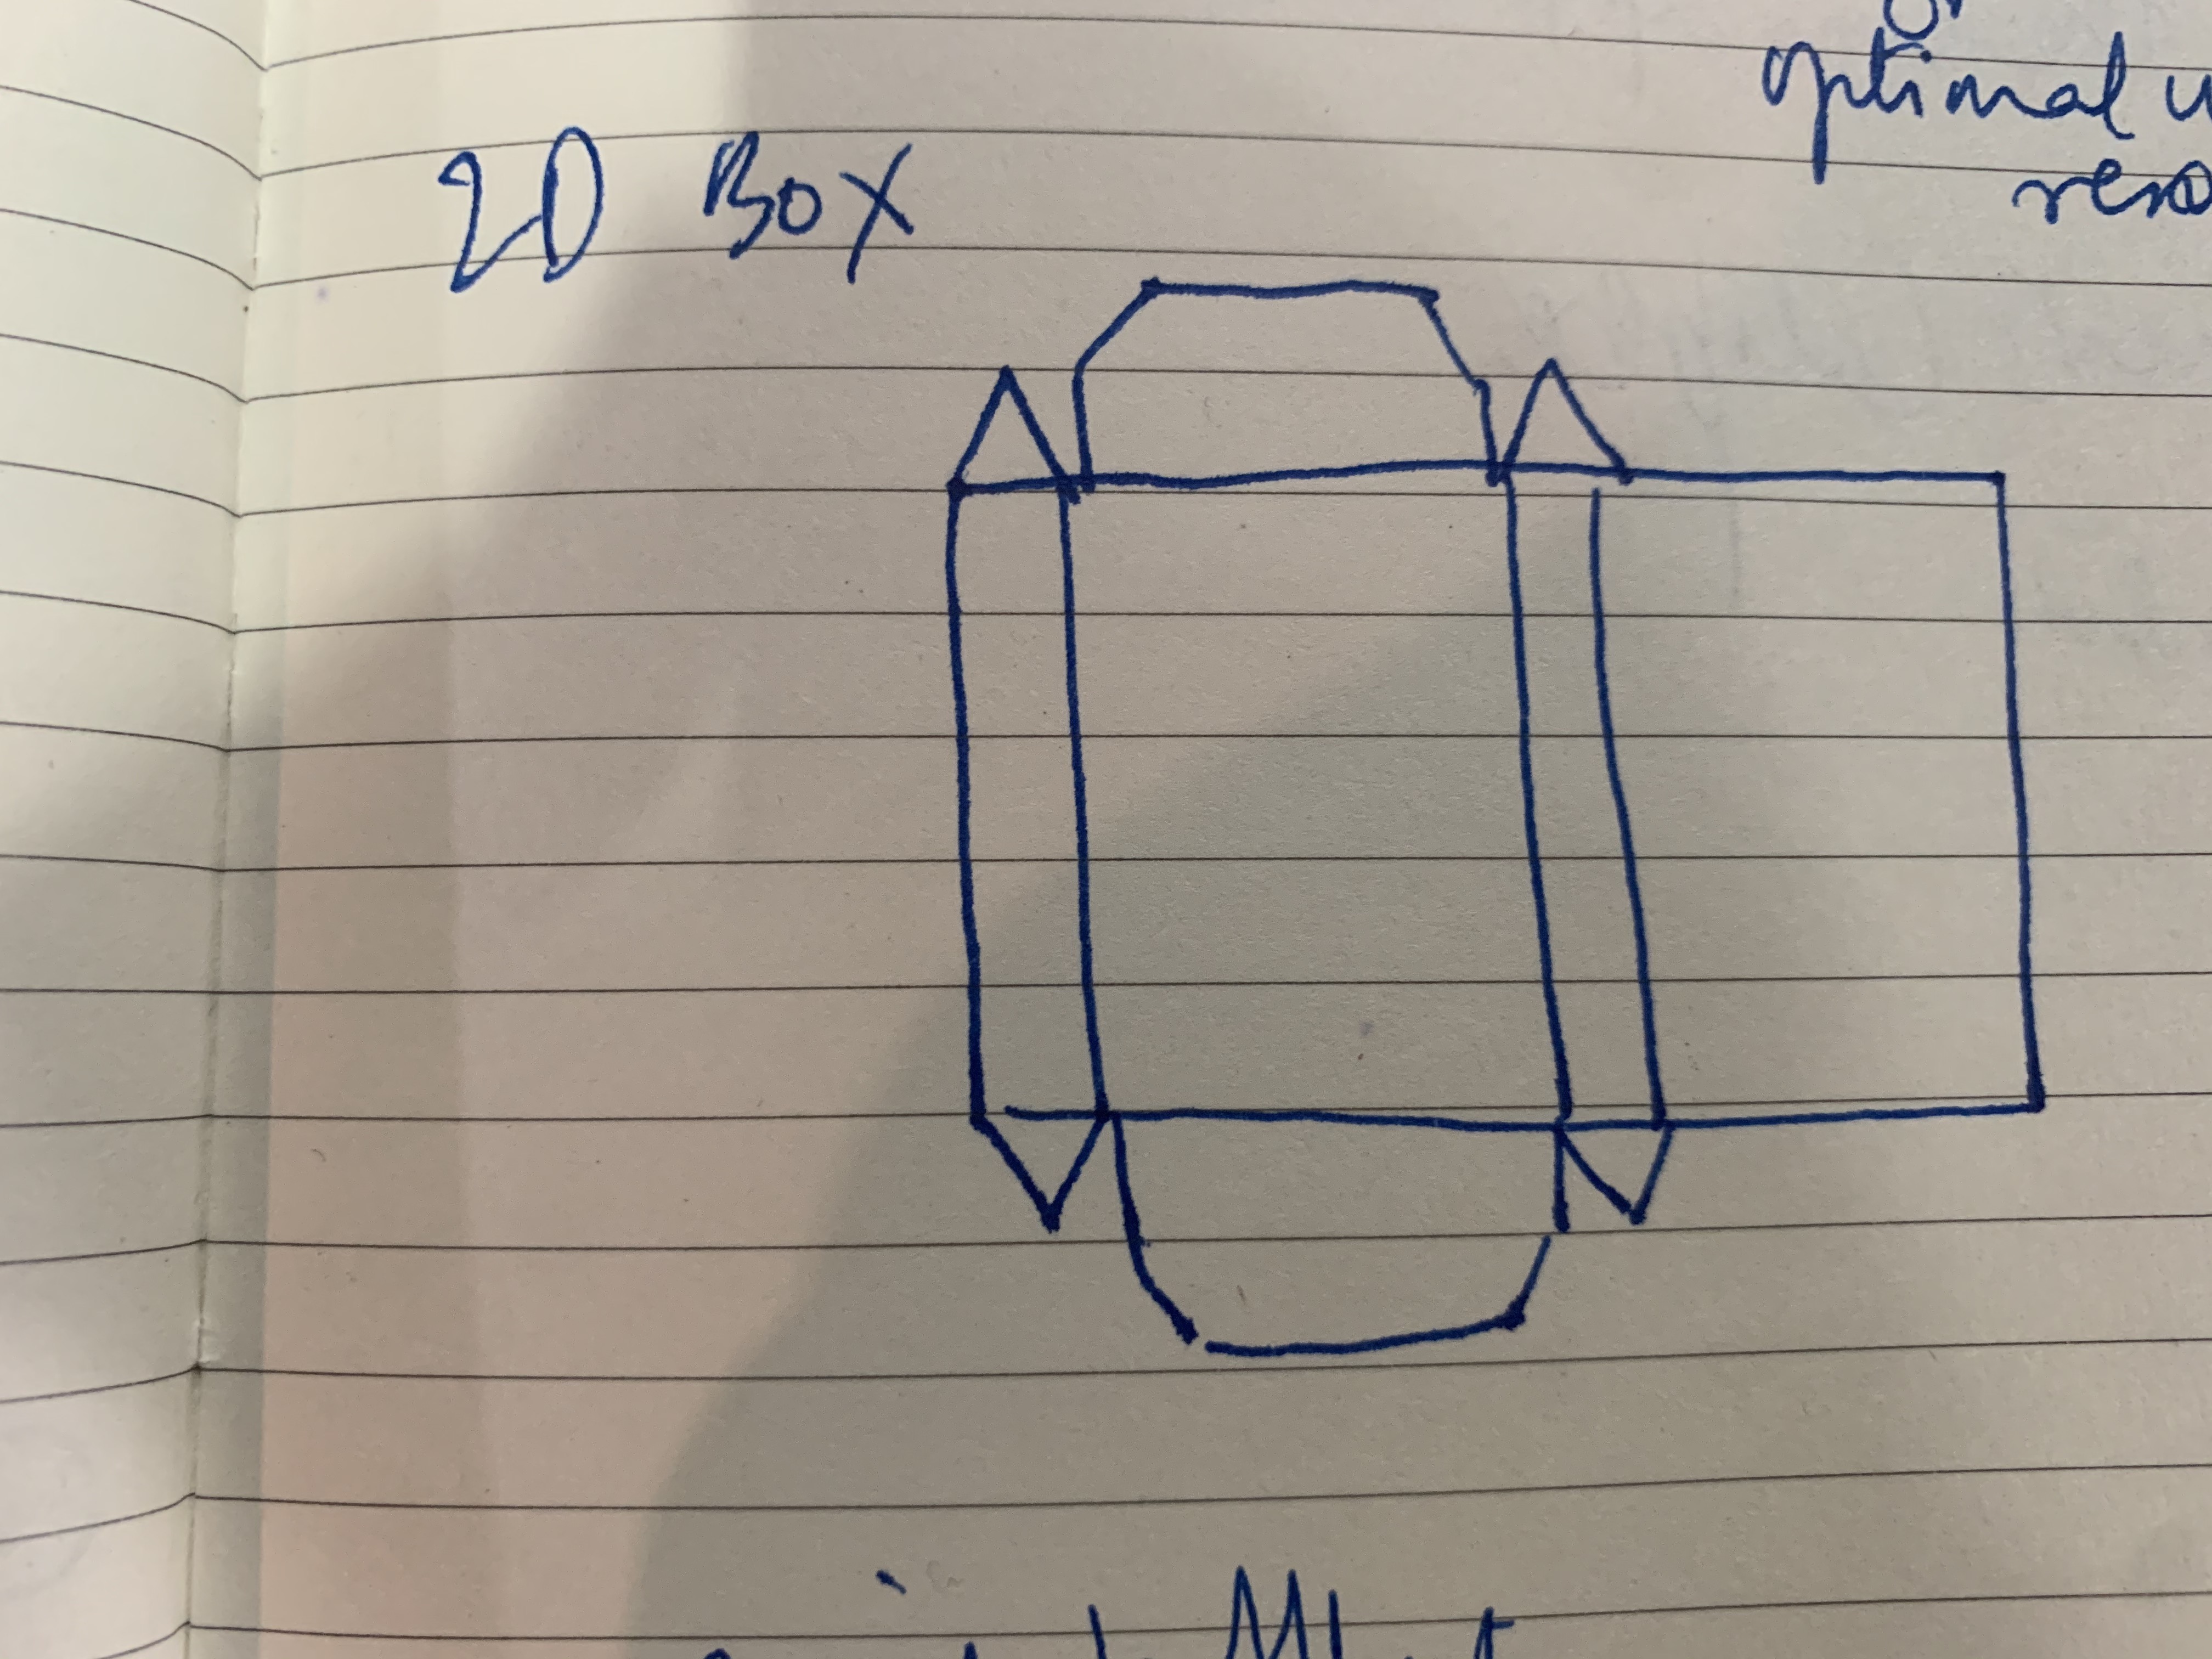
After that, I worked on Inkscape to create a packaging box. Again, similar to the pawn, I first drew this out on paper with basic geometric shapes, and then recreated the same on Inkscape. This is also incompletel; as you can see the side flaps should be like an equilateral triangle and they are curerntly a right angled triangle. I am still trying to figure out how I can fix this.
GIMP and INKSCAPE were mainly for 2D designs, so I moved to 3D designs. One of my fellow students at the class suggested I start with TinkerCAD since it is a userfriendly tool. TinkerCAD is a cloud-based design tool. Interestingly, it also has a short tutorial on how to create designs. I undertook the tutorial and got started with my designs.
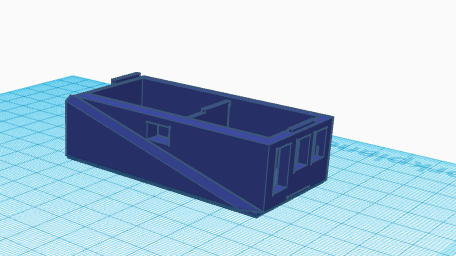
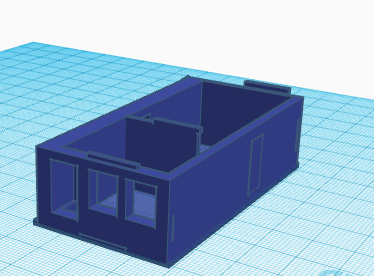
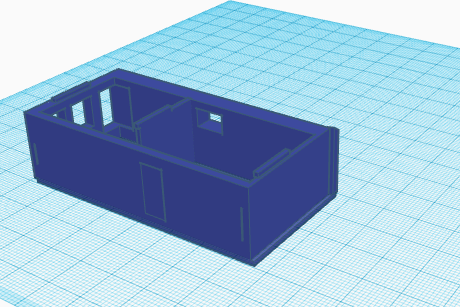
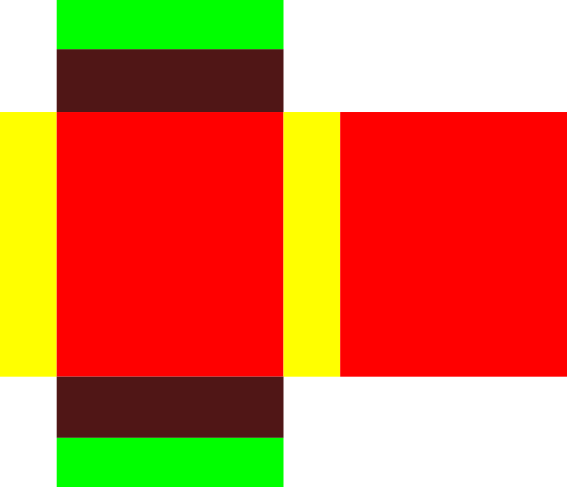
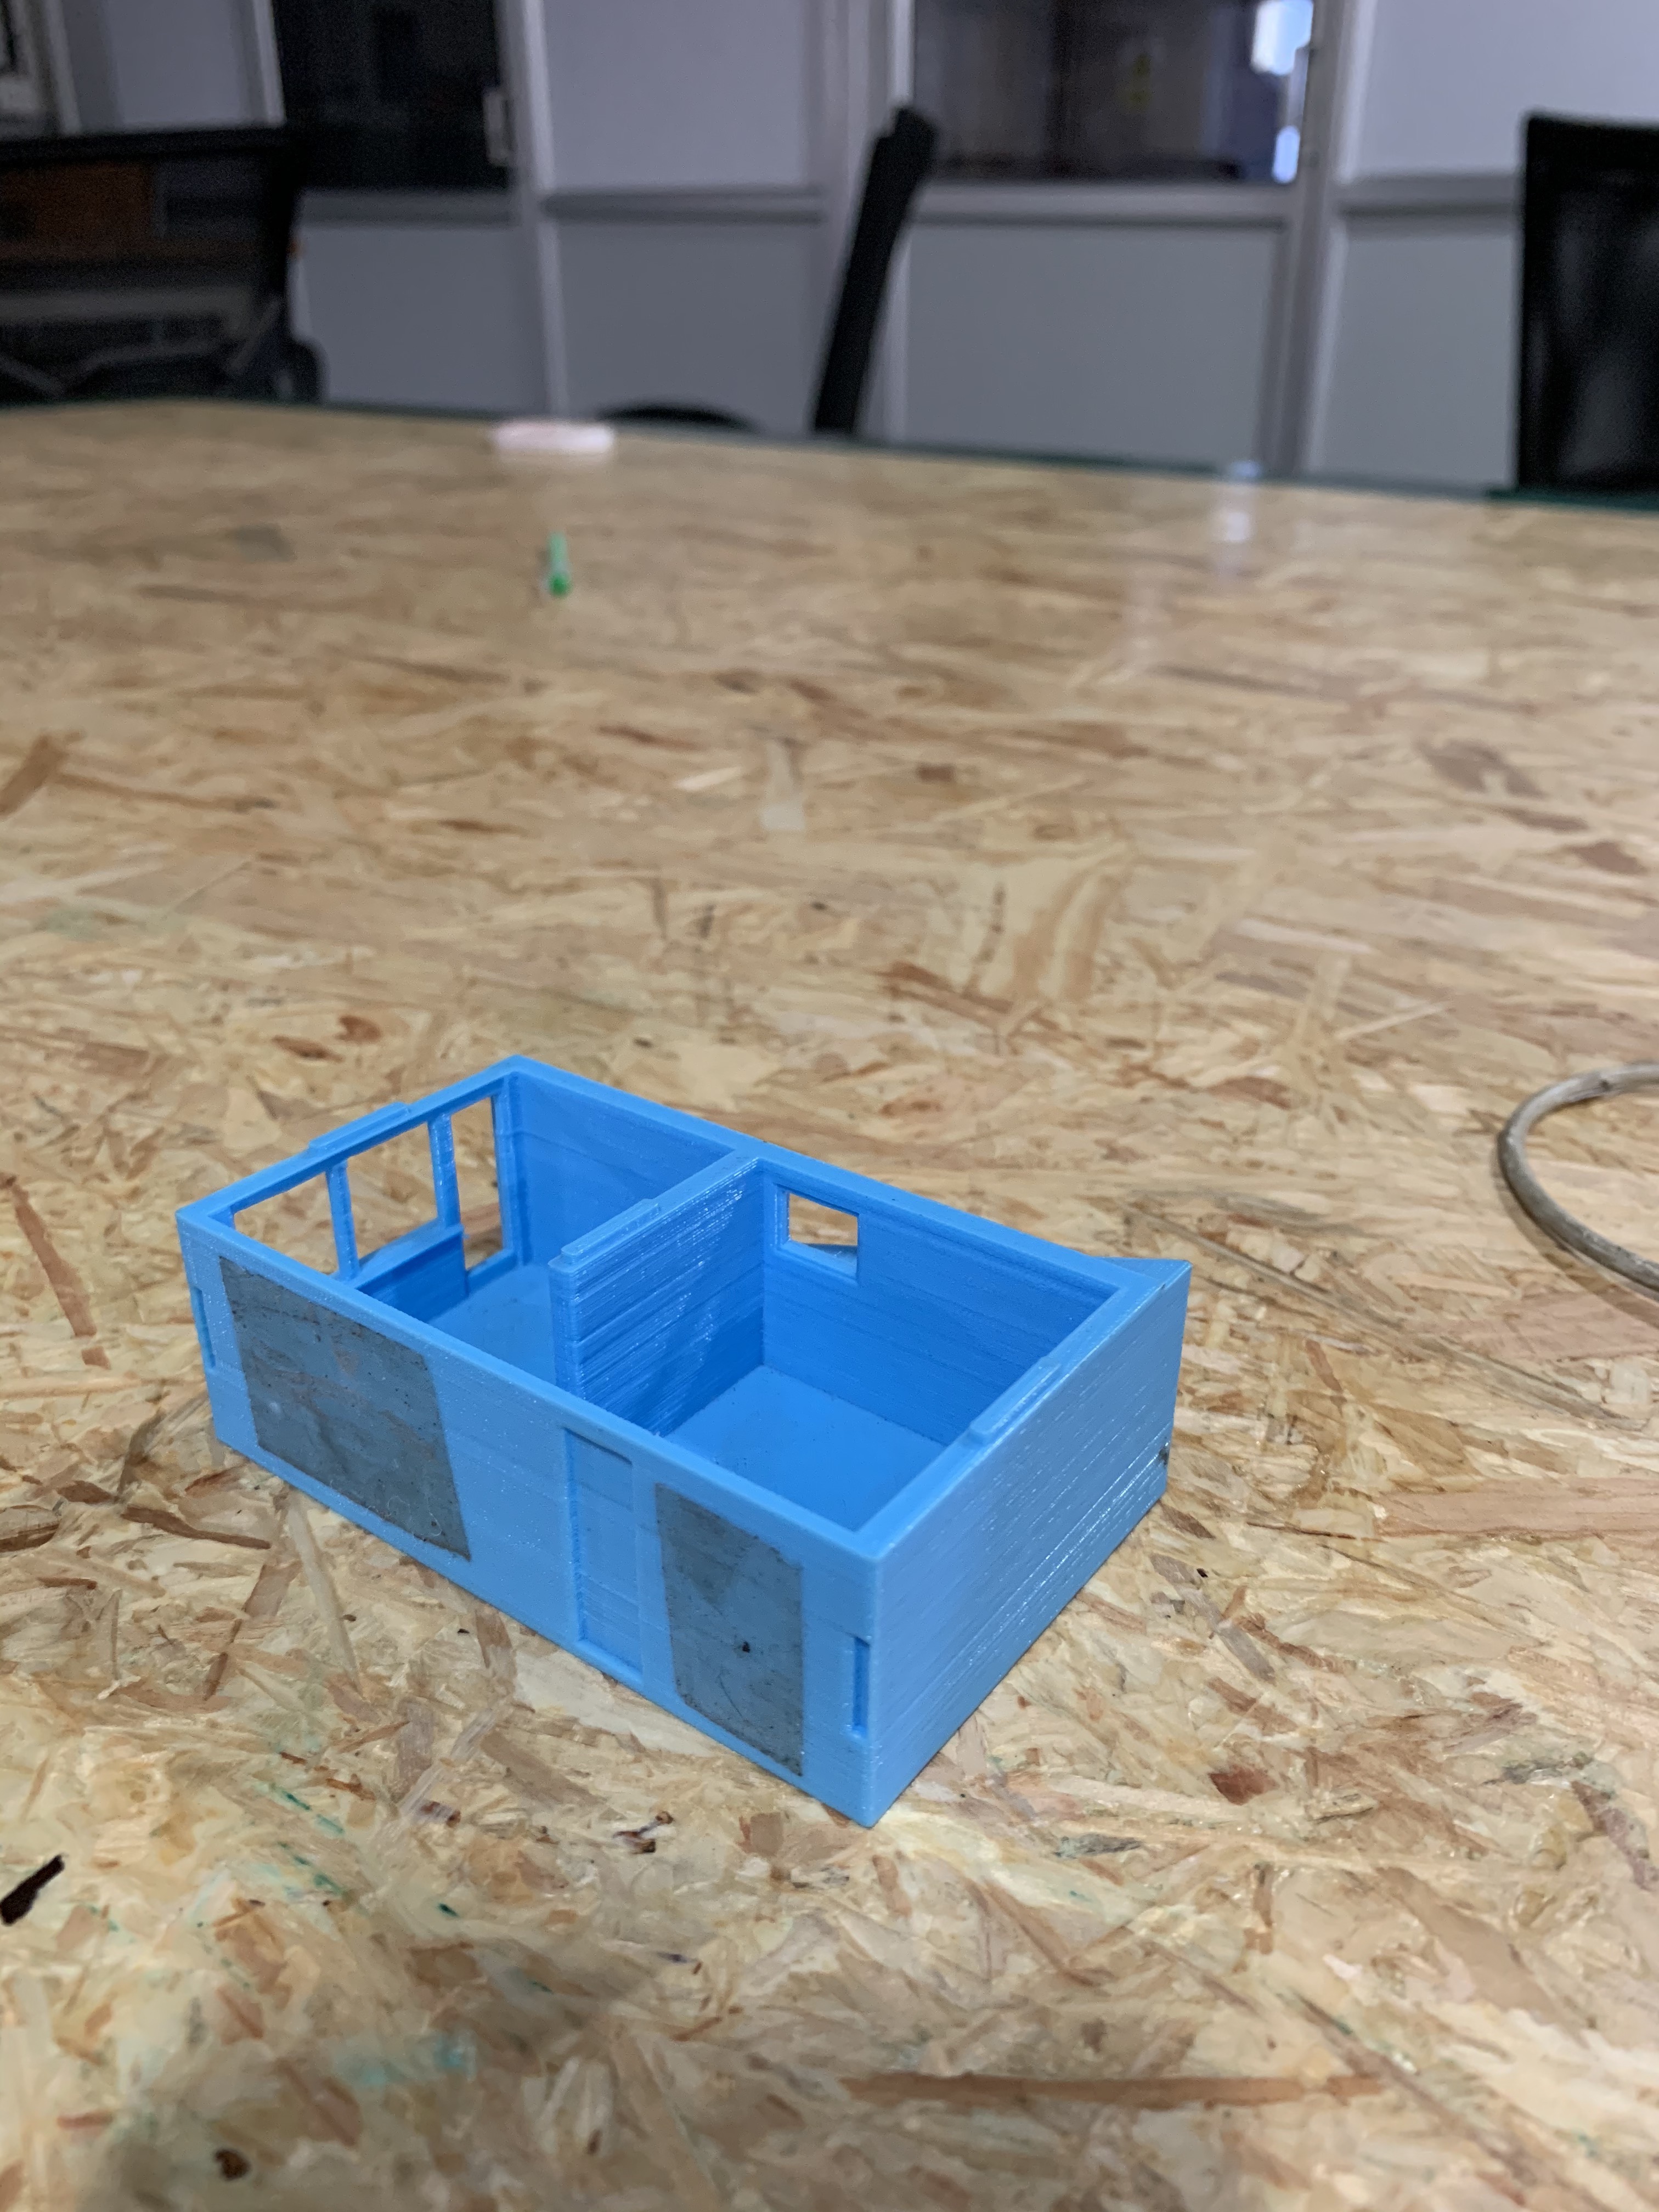
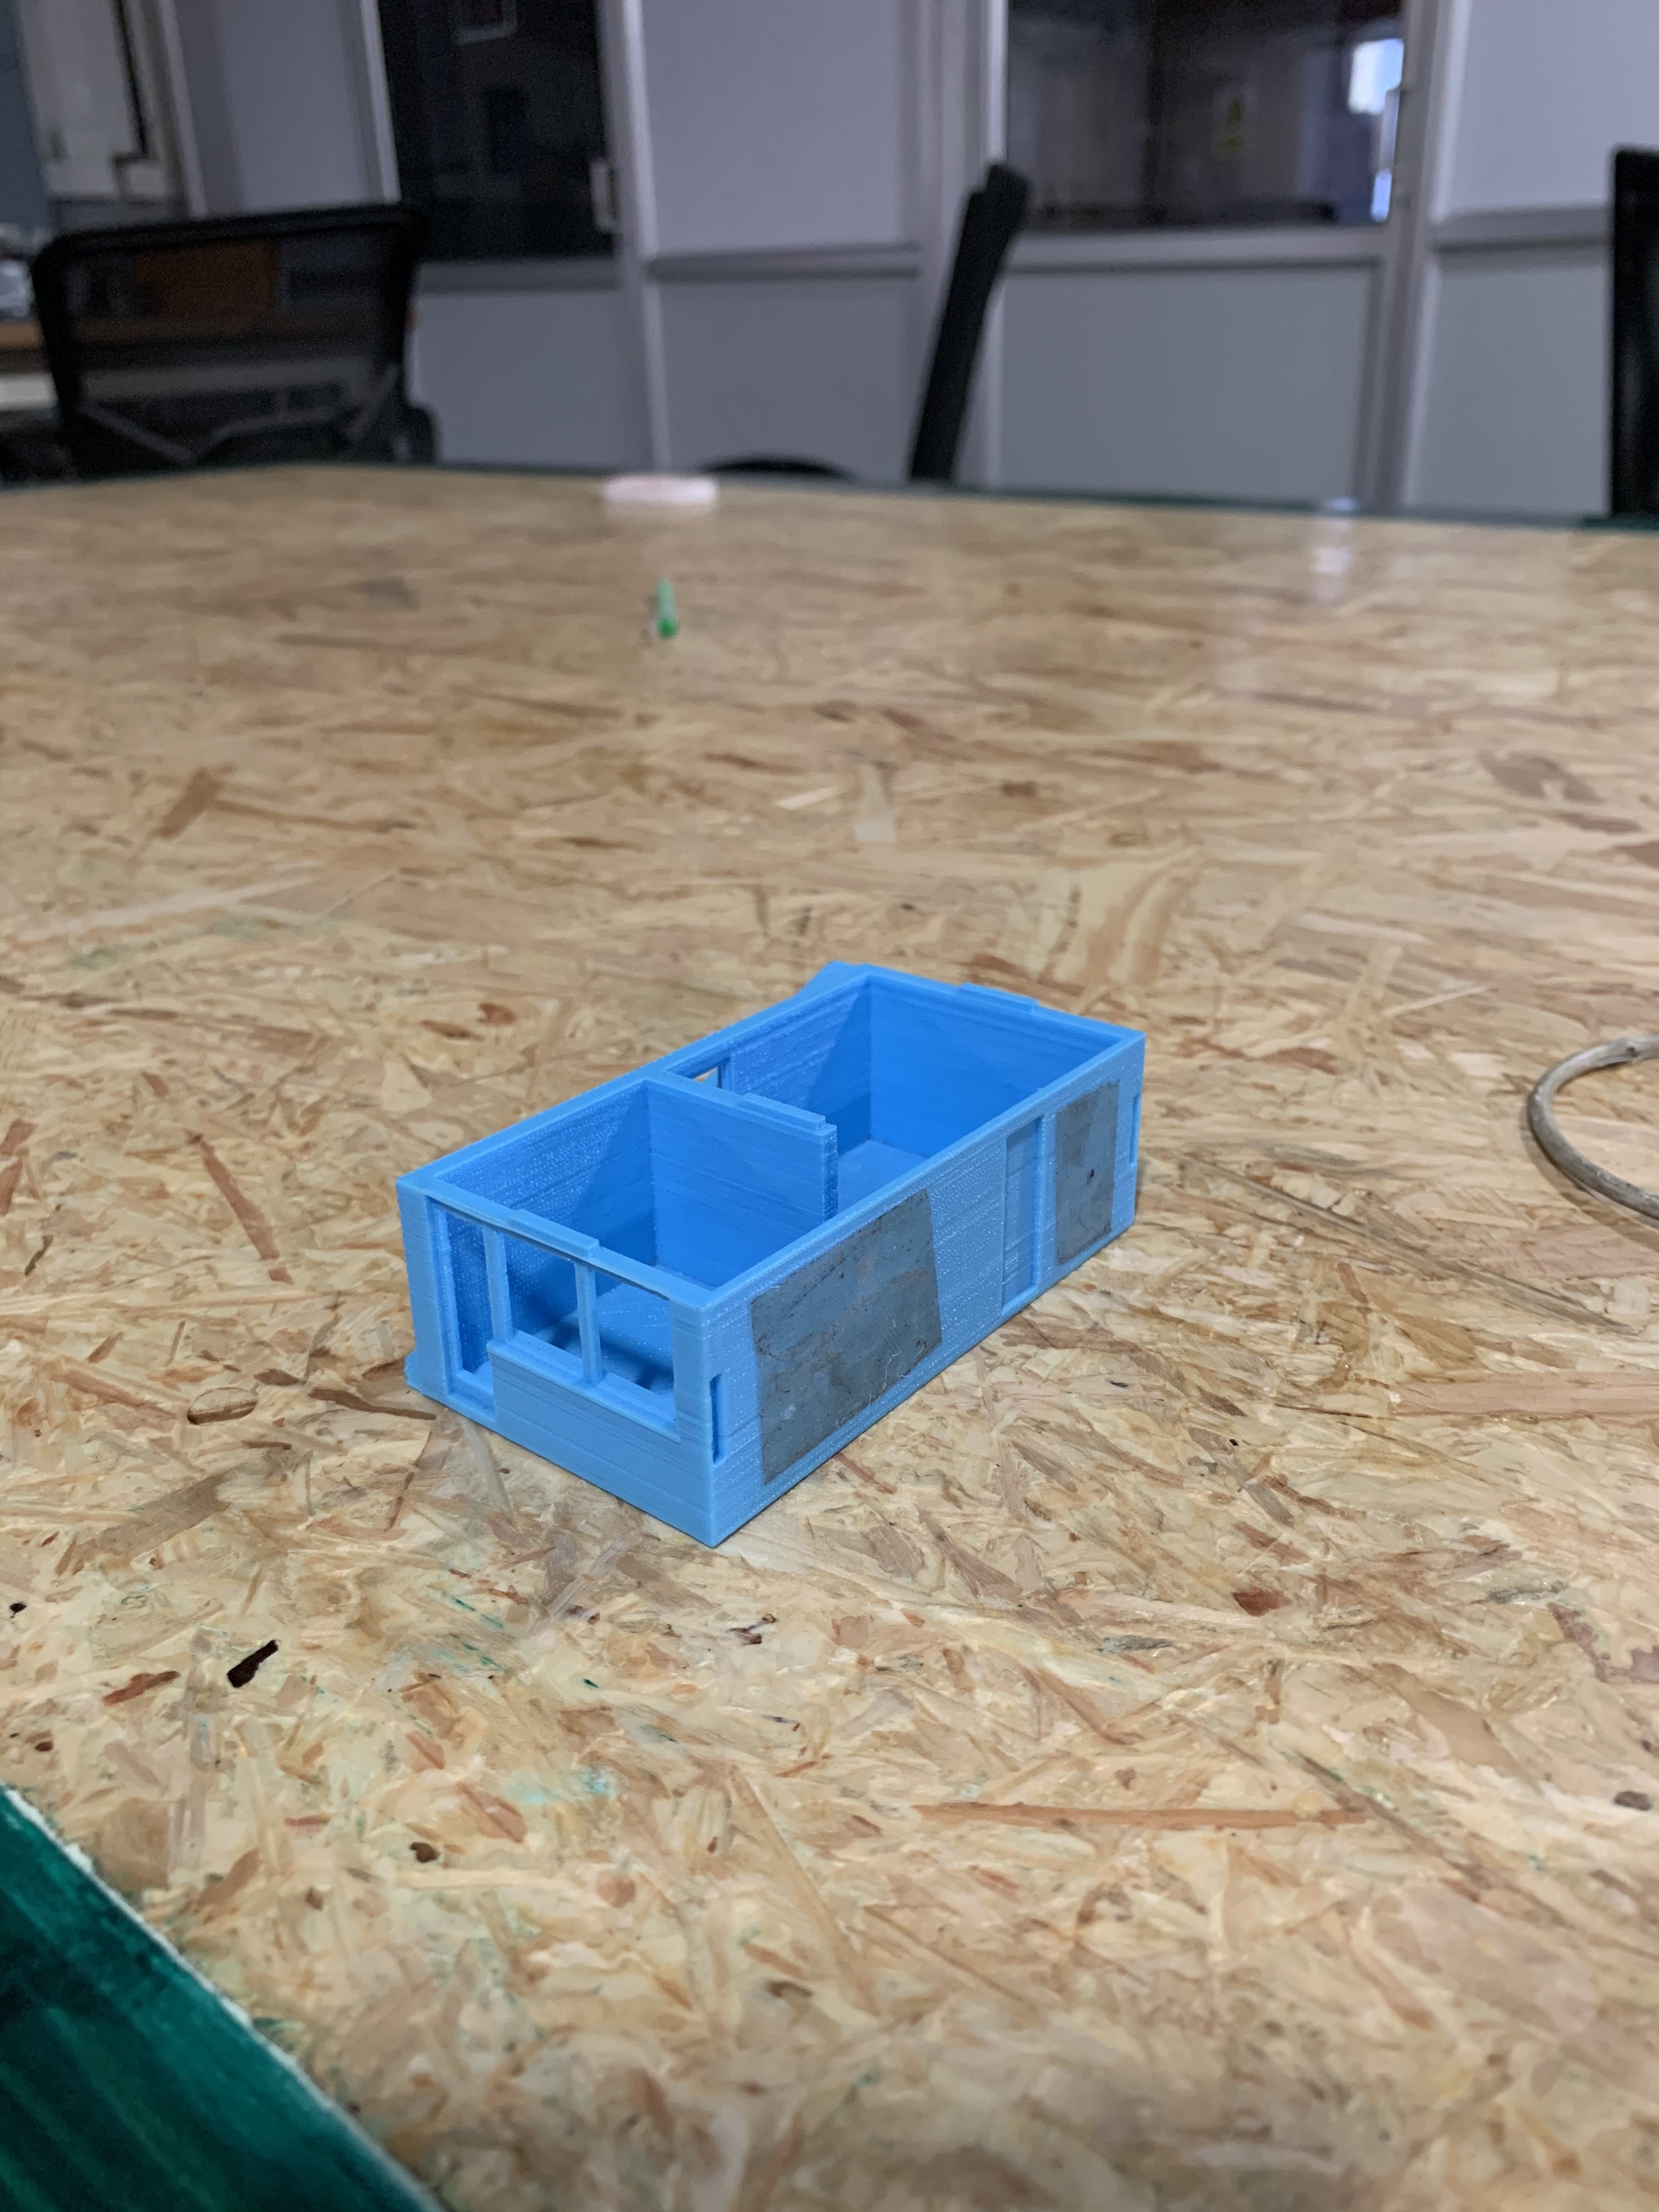
I took a 3D printed model of what looked like a house floor plan and designed it using TinkerCAD.
Here is what the 3D printed model looks like.

Here is what my 3D design looks like on TinkerCAD.