As with the previous weeks, this module also started with a fab academy video on 3D printing and scanning.
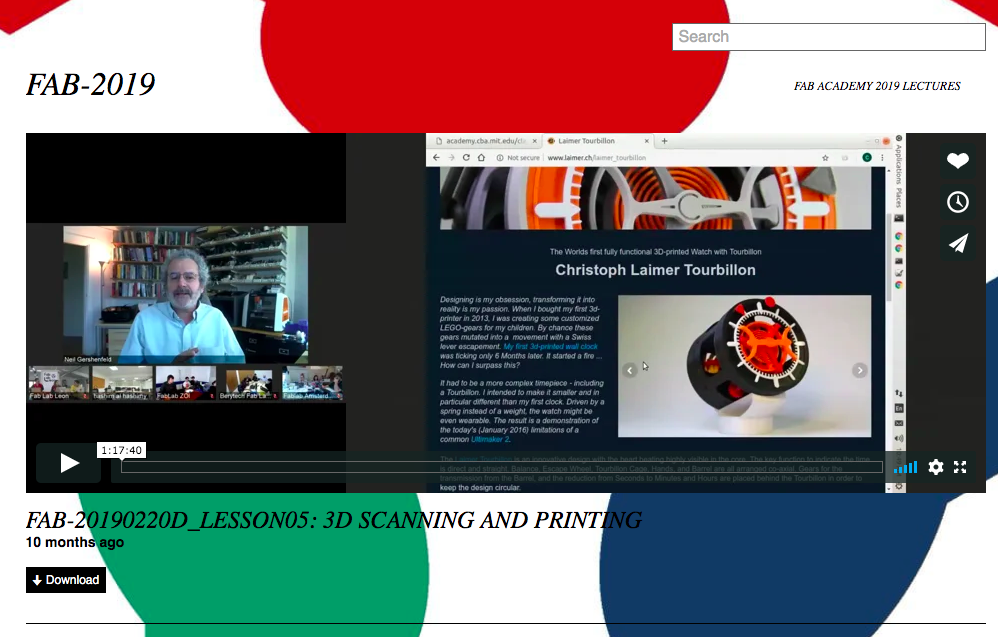
Some of the topics that were covered as a part of the video are listed below.
Printing Motivations
- Complexity
- Access
- Waste
Constraints
- Failure
- Materials - ABS, HIPS, PMMA, PETG, PLA
- Resolution
- Time - peinting in slow (takes hours/days)
- Cost
- Overhands, supports (3Dbenchy website)
- Angle
- Post processing
- Wall and edge thickness (minimal wall thickness)
- Dimensions
- Clearances
- Orientation
- Fills
Processes
- STL - STereoLithography - higest resolution
- FDM - Fused deposition modelling, extrusion, contour crafting
- Ink-jet binder
- Polyjet
- Cut sheets
- Selective laser
- CLIP
- Two photon
- Digital
Machines
- Reprap
- Prusa
- Ultimaker
- Makerbot
- Sindoh
- Formlabs
- MTM
- Precious plastics
Materials
- Protopasta
- Matter hackers
- Ninja tek
Service bureaus
- Shapeways
- Ponoko
- Additively
- Moog
File for mats
- STL
- ASCI II
- Solid object name facet normal n1 n2 n3 Outer loop Vertex v11 v12 v13 Vertex v21 v22 v23 Vertex c31 v32 v33 End loop End facet End solid object_name
- Binary 80 byte ASCI II header 32-bit integer number of facets 50 byte facet records 32 bit IEEE floats Normal Vertices 1,2,3 2 byte attribute Right hand rule Normal (optional) (lack of) units
- PLY
- AMF 3MF
- OBJ 3DS
- URML X3D
- FREP BREP adaptively-sampled distance fields
- Volumetric .vol .tiff .gif Marching cubes Fab modules vol_gif gif_stl gif_png
From design stage to slicer
Softwares used:
- Fusion 360
- Solidworks
- Rhino Grasshopper
- Blender
- Free CAD
- Open SCAD
- Antimony
- VTR CGAL
- Meshlab netfabb meshmixer
- Geomagic
- Replicator G skeinforge Slic3r Cura
- Octoprint
- Sketchfab Thingiverse
Scanning
- Point cloud, triangulation, water tight, texture, random transform, micro-ct
- Tomography
- Confocal
- Serial sections
- Opacity
- Digitizer
- Laser fabscan
- Lidar
- Array illumination
- Time of flight
- Vision
- Photogrammetry Photoscan Visual FSM Scann3D 3DSOM Alice vision
- Speckle Openkineet Reconstructme Skanect Sense isense
- Structure laser projector
- Light stages
- SLAM
Assignment
- Design an object that can be made subtractively (needs geometrical complexity)
- 3D scan an object and print it
After the video, Richard took me through the 3D printers at the workshop.
-
WANHAO Duplicator i3 plus
-
Fractalworks Julia
-
Global 3D lbas Pramaan
Secondary research and reading highlights (There are many resouces for learning about and using 3D printers and scanners, however these are the links that I found most useful.)
-
Basic research on architecture of FDM 3D printers and comparison to other technologySources referred: a) About FDM - https://www.designtechproducts.com/articles/working-fdm-3d-printers b) About FDM - https://www.3dnatives.com/en/fused-deposition-modeling100420174/ c) Parts of a 3D printer - https://www.3ders.org/3d-printing-basics.html
-
Watch a video on youtube building a 3D printer from scratch (reprap or maker bot) and identify main components a) reprap page - https://www.reprap.org/wiki/RepRap b) Prusa’s manual for putting together a 3D printer - https://manual.prusa3d.com/c/Prusa_i3_kit c) Parts of a 3D printer - https://www.3ders.org/3d-printing-basics.html
-
Types of materials printable in an FDM printer with a datasheet about the materials a) On the material we use at the workshop - Augment 3Di PLA - http://www.augment3di.com/ b) On food safety of materials used - https://all3dp.com/1/food-safe-3d-printing-abs-pla-food-safe-filament/ c) On food safety of material used at the workshop - https://drive.google.com/file/d/1f5eWnLdPYLD6H-x_McPoMHQGraCFHAtt/view - it’s unclear if it is food grade PLA or not.
-
Sketch and design of a model that cannot be subtractively manufactured - ask if necessary
-
Selection of a Thingiverse model for 3D printing a) Bottle stopper - https://www.thingiverse.com/search?q=bottle+stopper&dwh=225df7524bc44c8 b) Egg separator c) Commonly used 3D printing materials and their properties - https://blog.tinkercad.com/3d-printing-materials-guide
-
Selection of multiple models for 3D scanning Try to scan Mogu’s, my one year old puppy, head. This may be slightly challenging if she does not keep her head still during the scanning process.
-
Brief video intro to how to use 3D sense scanner (1st generation) Based on scanner available in the workshop.
3D printing exercises:
- Bamboo curtain pole
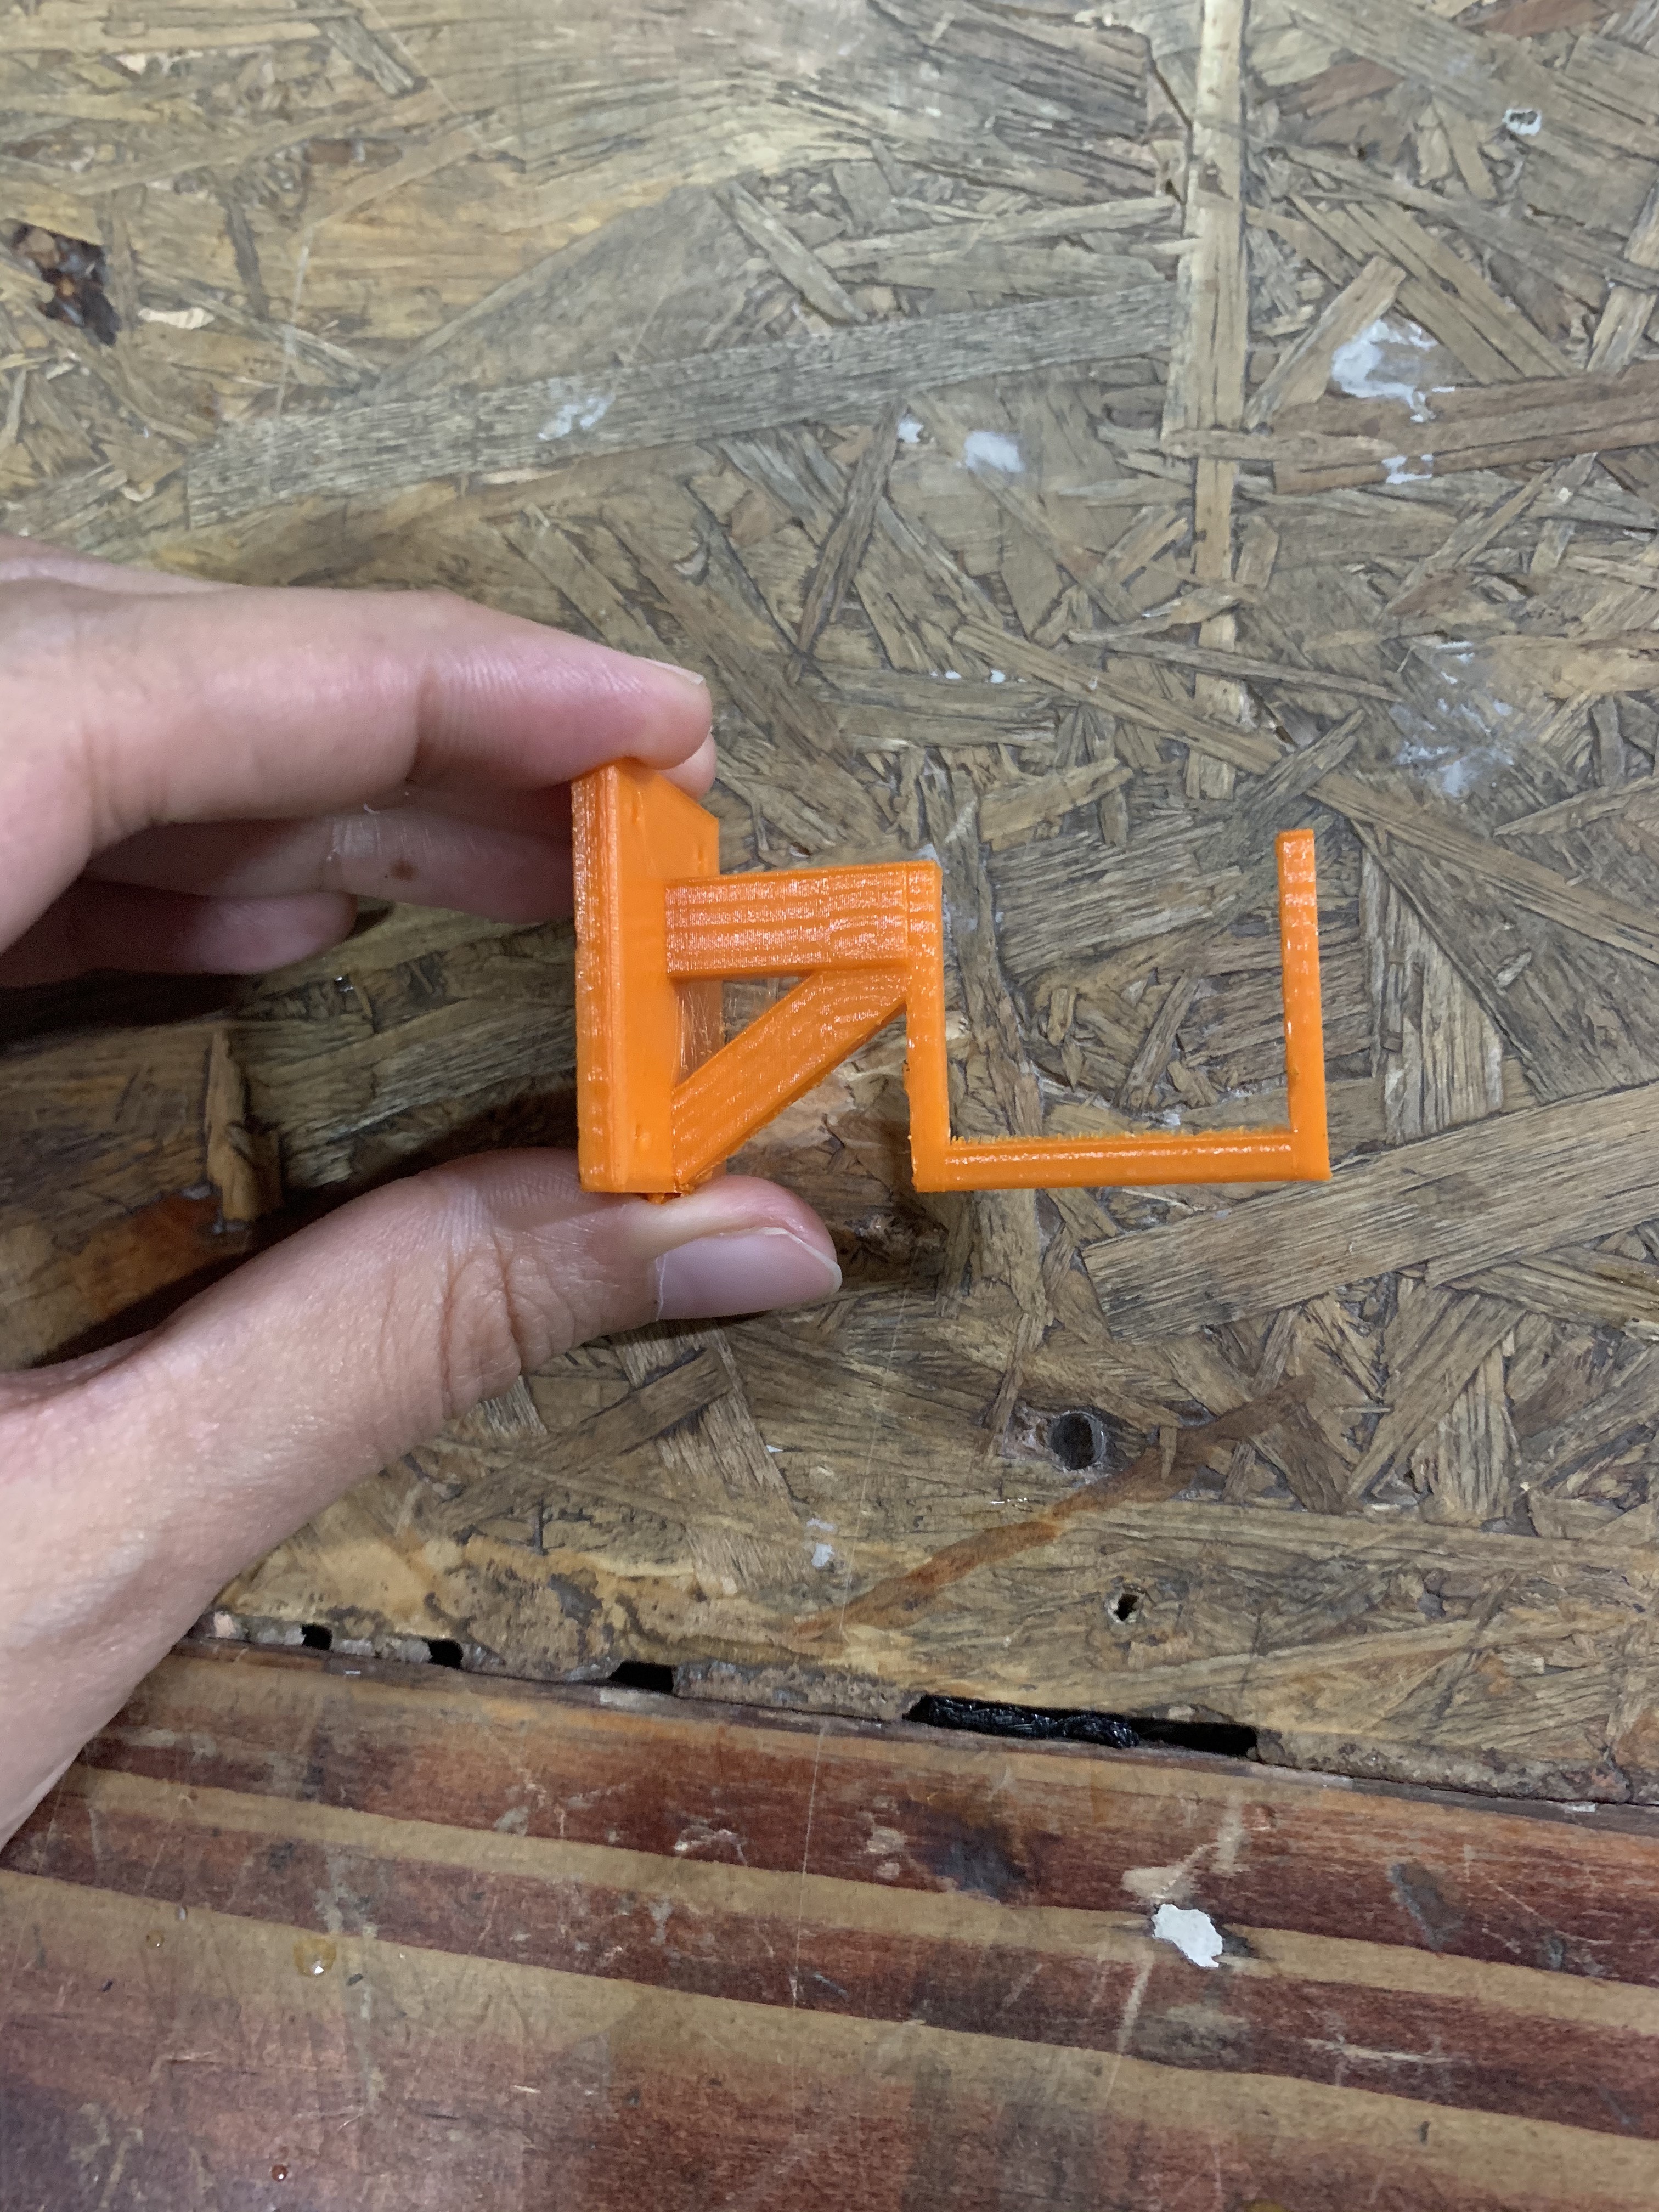
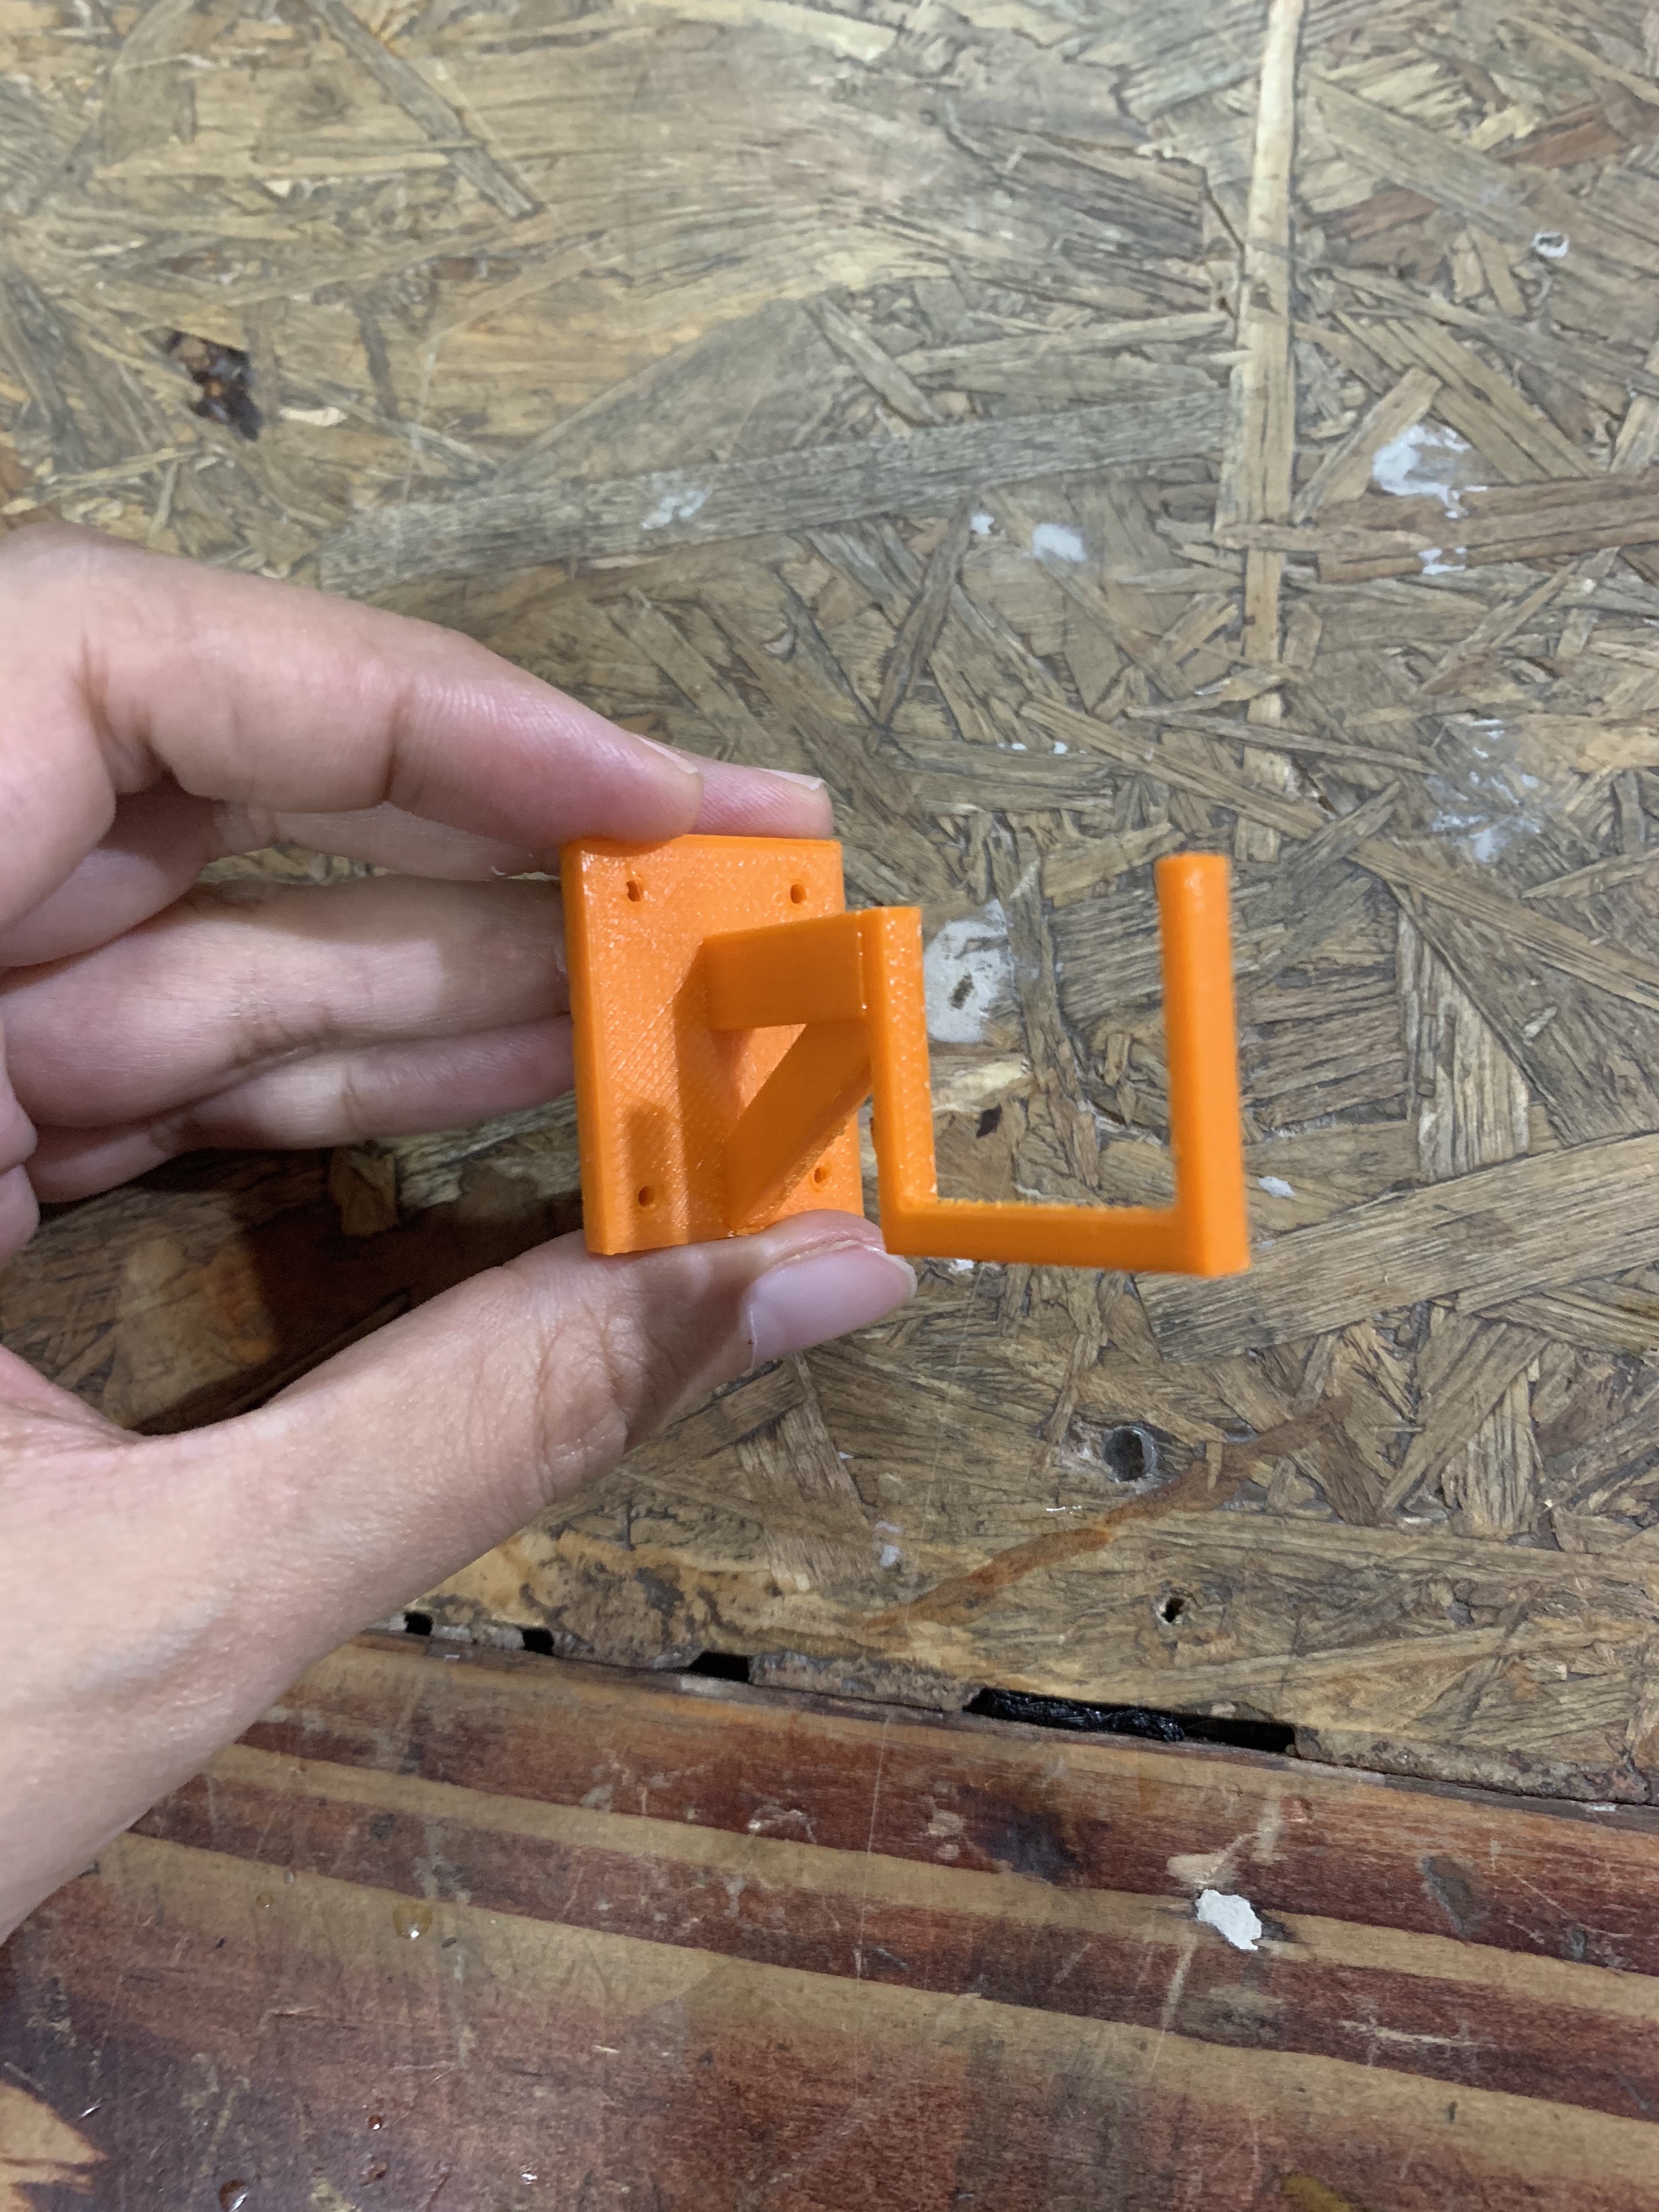
I have a bamboo pole that weighs about 1.1kgs. Because of the diameter of the pole, which is larger than most regular curtain rods, I’ve been unable to find a hook of this size that will be able to hold this pole in place. The poles are also have varying diameters on either ends – 3.5cms on end and 5cms on the other end. So based on the existing hooks that we have at home, I designed a similar hook with new dimensions for the bamboo pole.
Metal hook for curtain rod
INCLUDE PICTURE
Hook for bamboo pole
I designed the hook on TinkerCAD. As you can see, I have made some design modifications based on Salih’s suggestions to ensure that the new design has structural integrity and can bear the weight of the heavy pole. (Curtain rods are typically light and hollow and weigh only 100-200gms. While the bamboo pole is also hollow, the pole is quite thick and ends up weighing at least four to five times as heavy as a regular curtain rod.) I used a vernier’s caliper to understand the proportions of the metal hook.

Once I designed the hook on TinkerCAD, I saved the file as a .stl file. I then downloaded Ultimaker CURA. What this software does is that it converts the .stl file into the corresponding g-code file, which is the format in which the 3D printer can read the file and print it. While I didn’t make any design modifications in CURA, I sized the object down to reduce the amount of print time. The original print time was over 5 hours, but by scaling it down to 40% of the original size, the print time came down to a little over an hour. CURA also allows us to save the print settings based on the printer we plan to use for a design. The print settings covers aspects like quality, shell, print material temperature, speed, cooling temperature, and support. I chose to print this out using PLA filament.
Once I saved the print settings, Ultimaker CURA showed the estimation print time, and the total number of vertical layers. I saved the file as a g-code file, transferred it onto a pen drive and inserted it into the Global 3D Labs Pramaan printer.
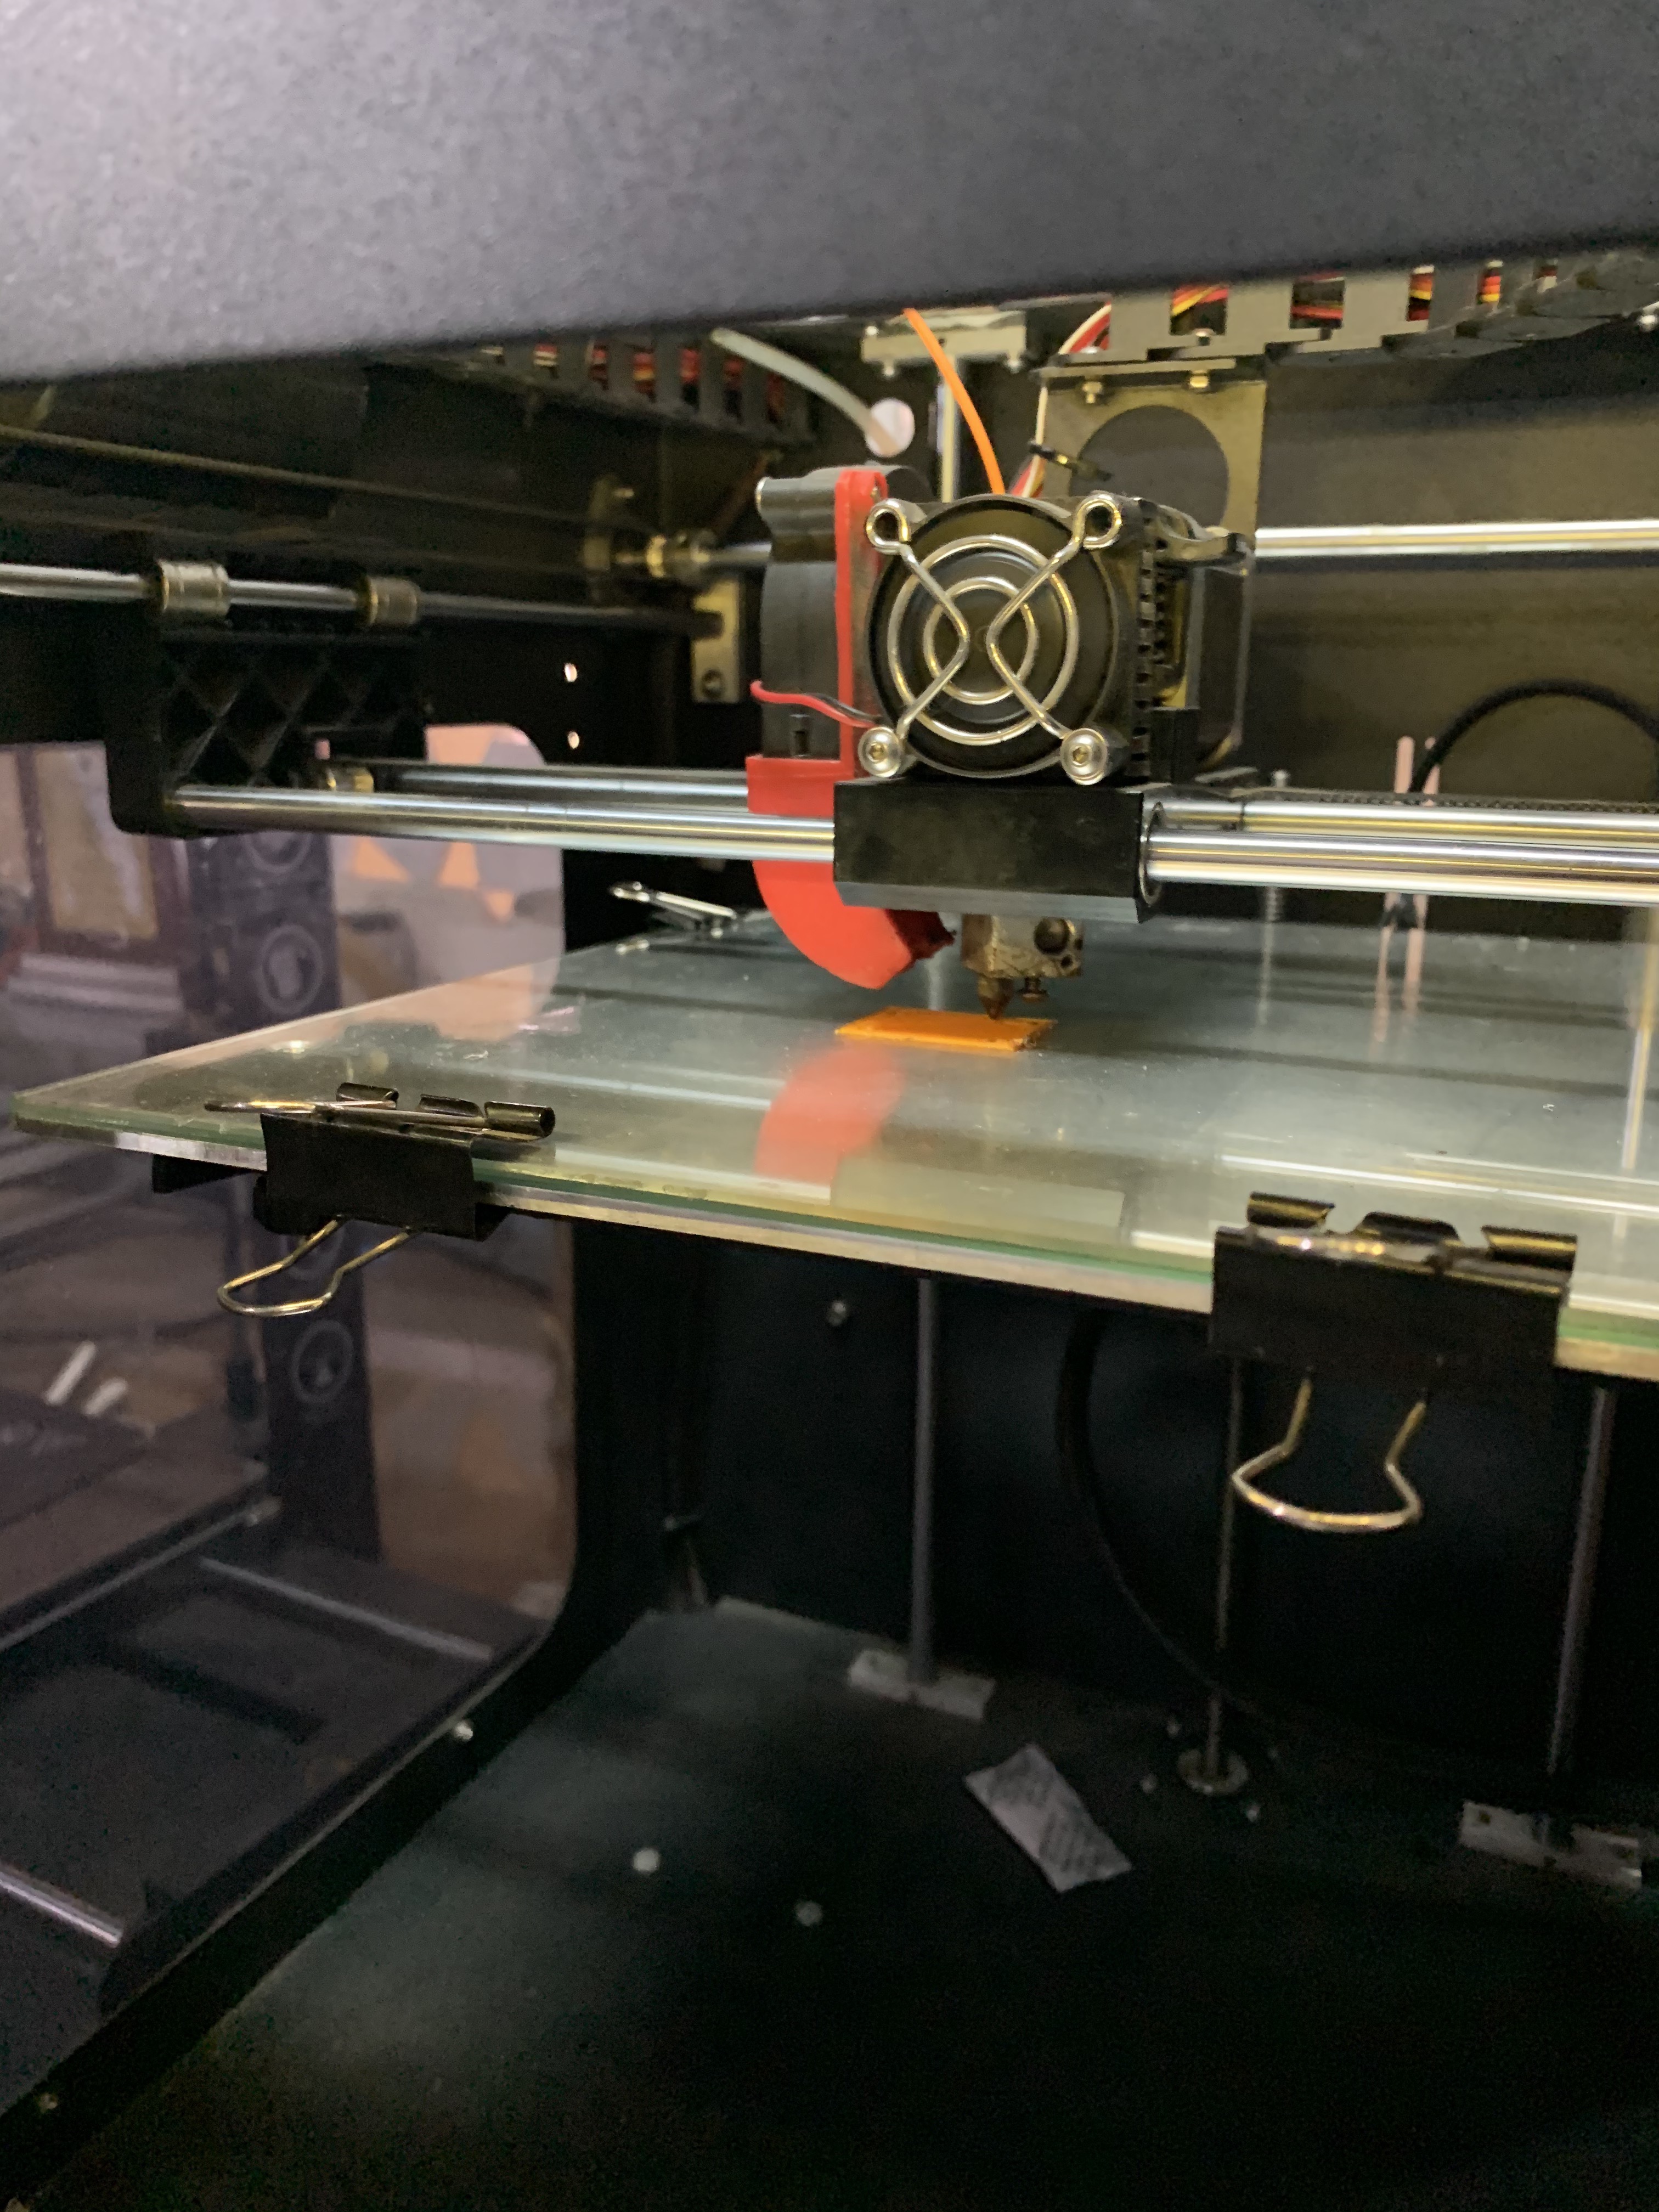
There is some preparation involved before we print the design. First, I cleaned the print bed using alcohol and cloth – this removed all the dirt and dust and any remnants of previously printed material. After that, I applied a thin layer of fevistick gum on the print bed. I did this to make sure that the printed design does not stick to the print bed and peels out easily.
The printer is simple to use – once you switch it on, and preheat the printer, the printer has to reach a certain temperature (based on the filament material used) before we print out the design.
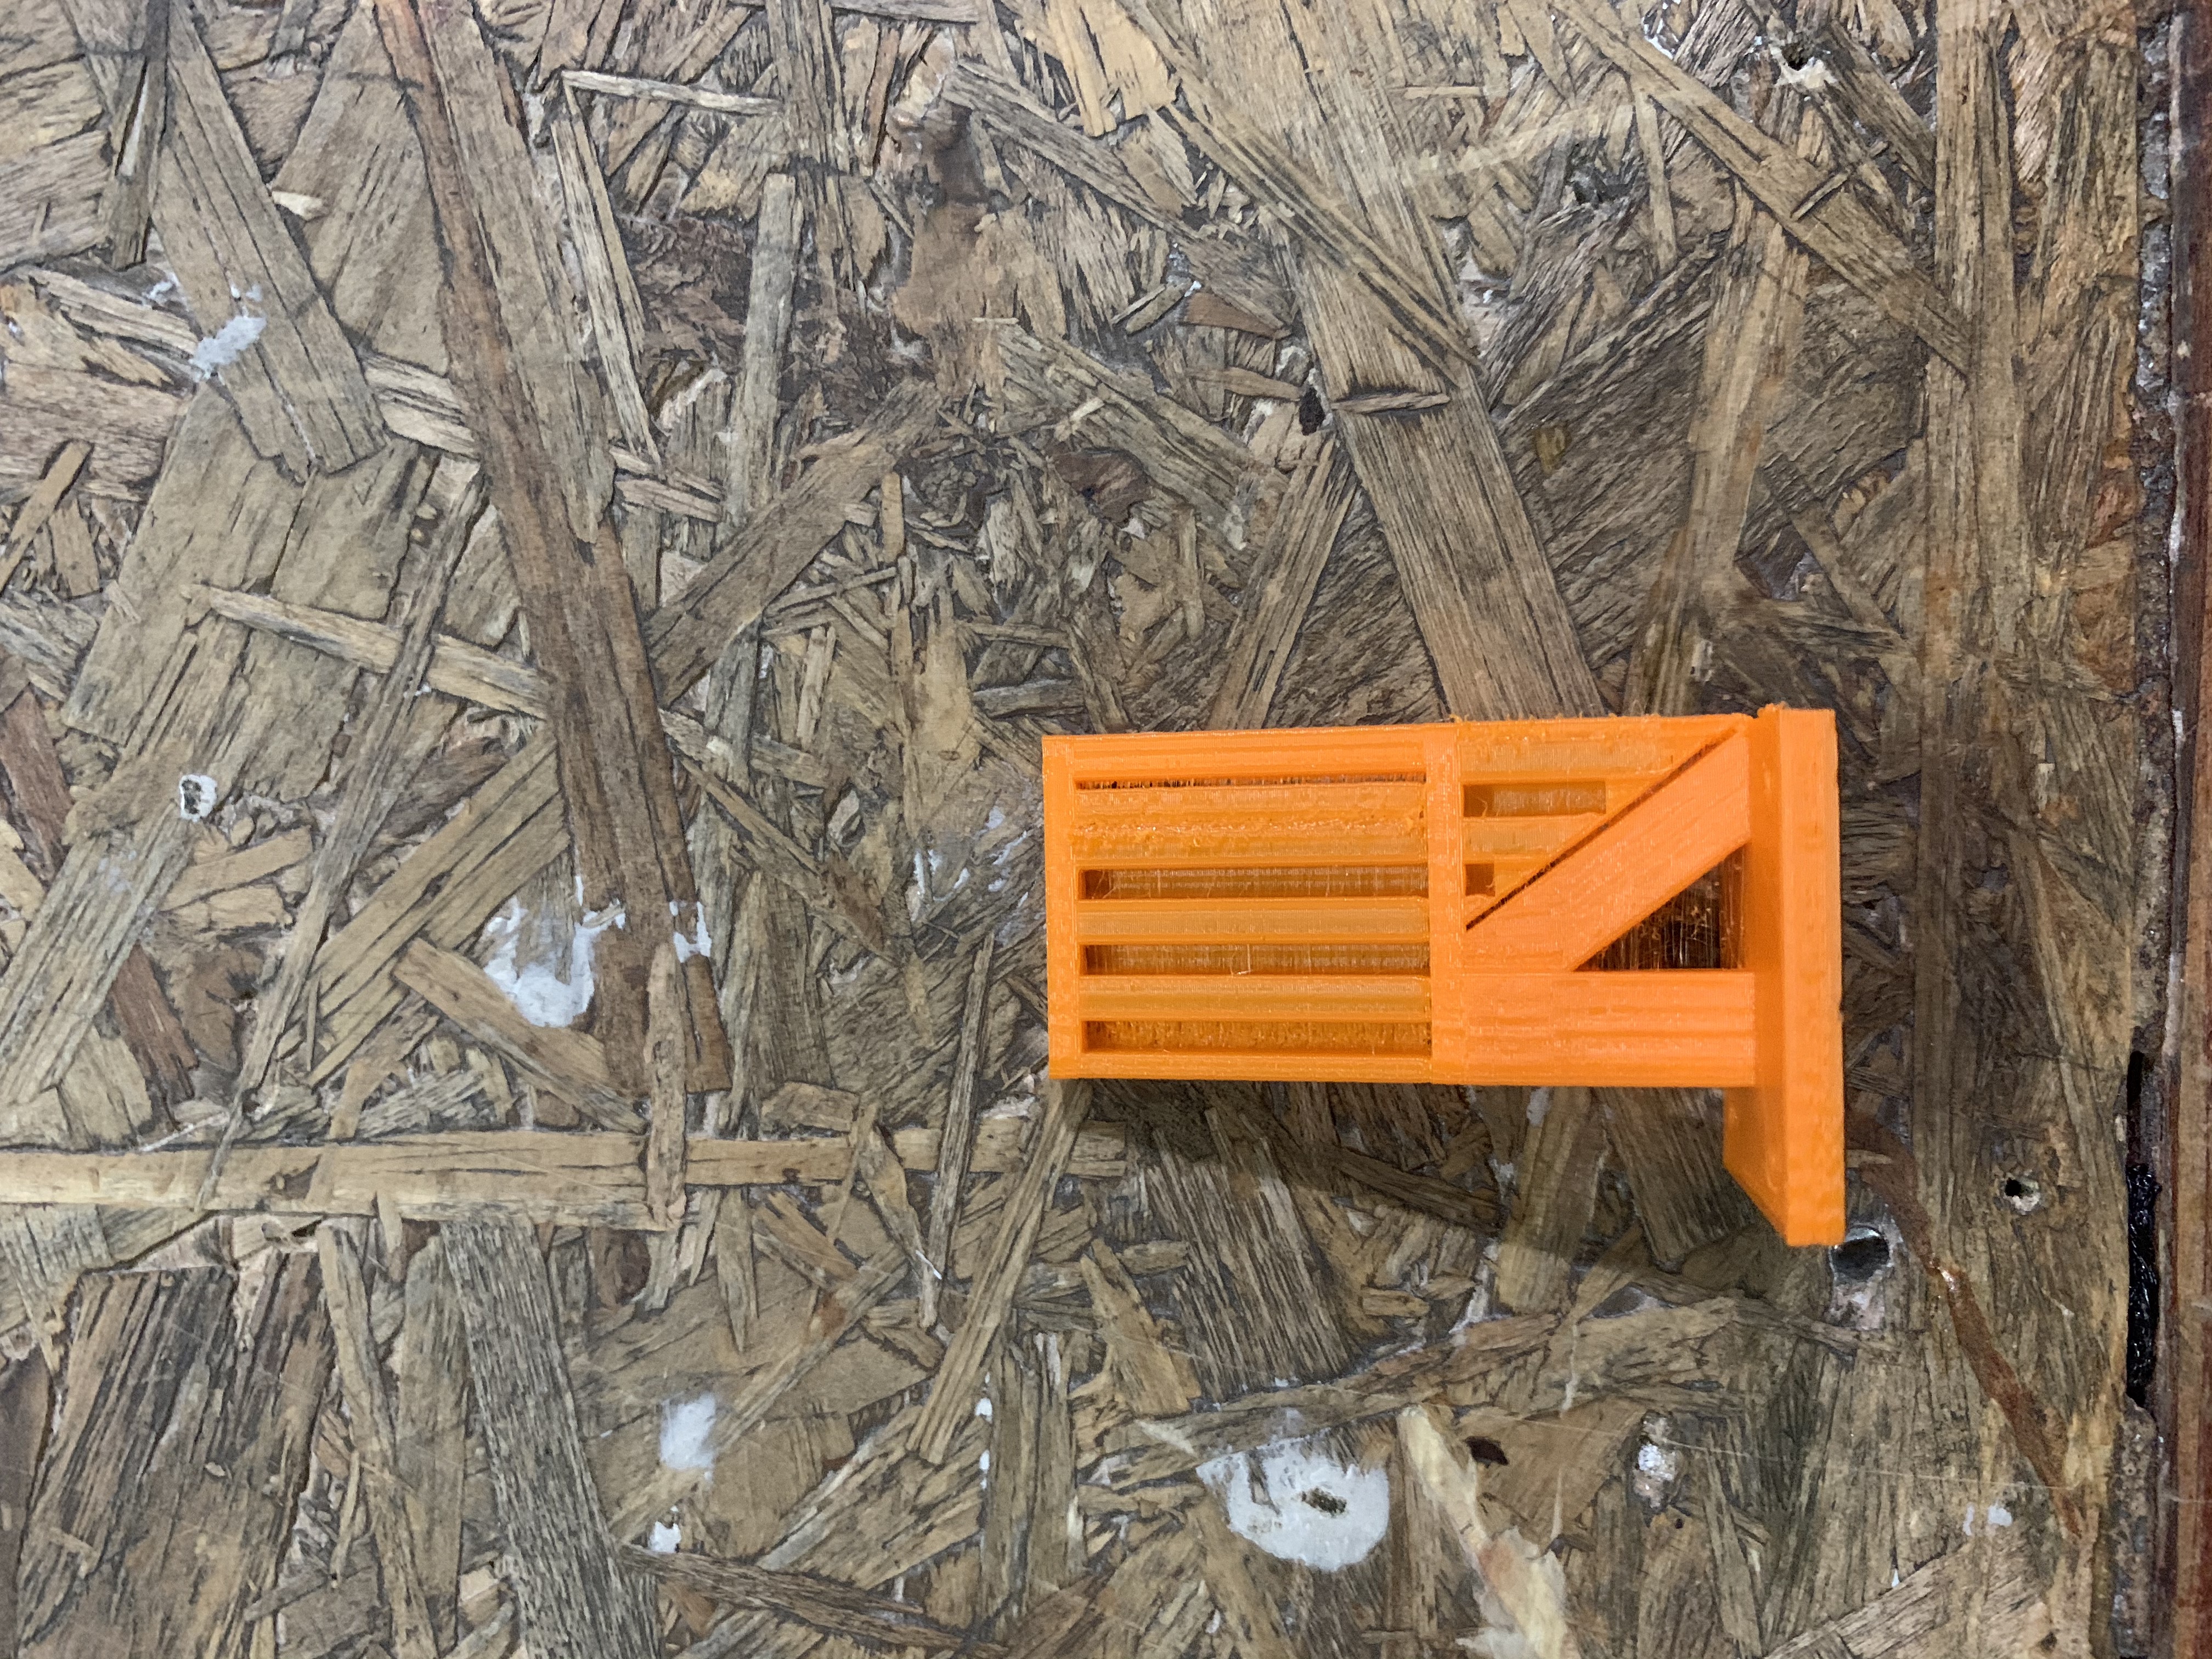
- Calibration test
This is the second design I printed. This is generally done at the beginning when you want to test the capabilities of a new printer to see how accurately it can print some challenging designs for which 3D printers were created for. I downloaded the design from Thingiverse.
While Thingiverse provides details on specifications to keep in mind while printing, I sized the design down to 40% of its original size. Again, I did this to reduce the print time.
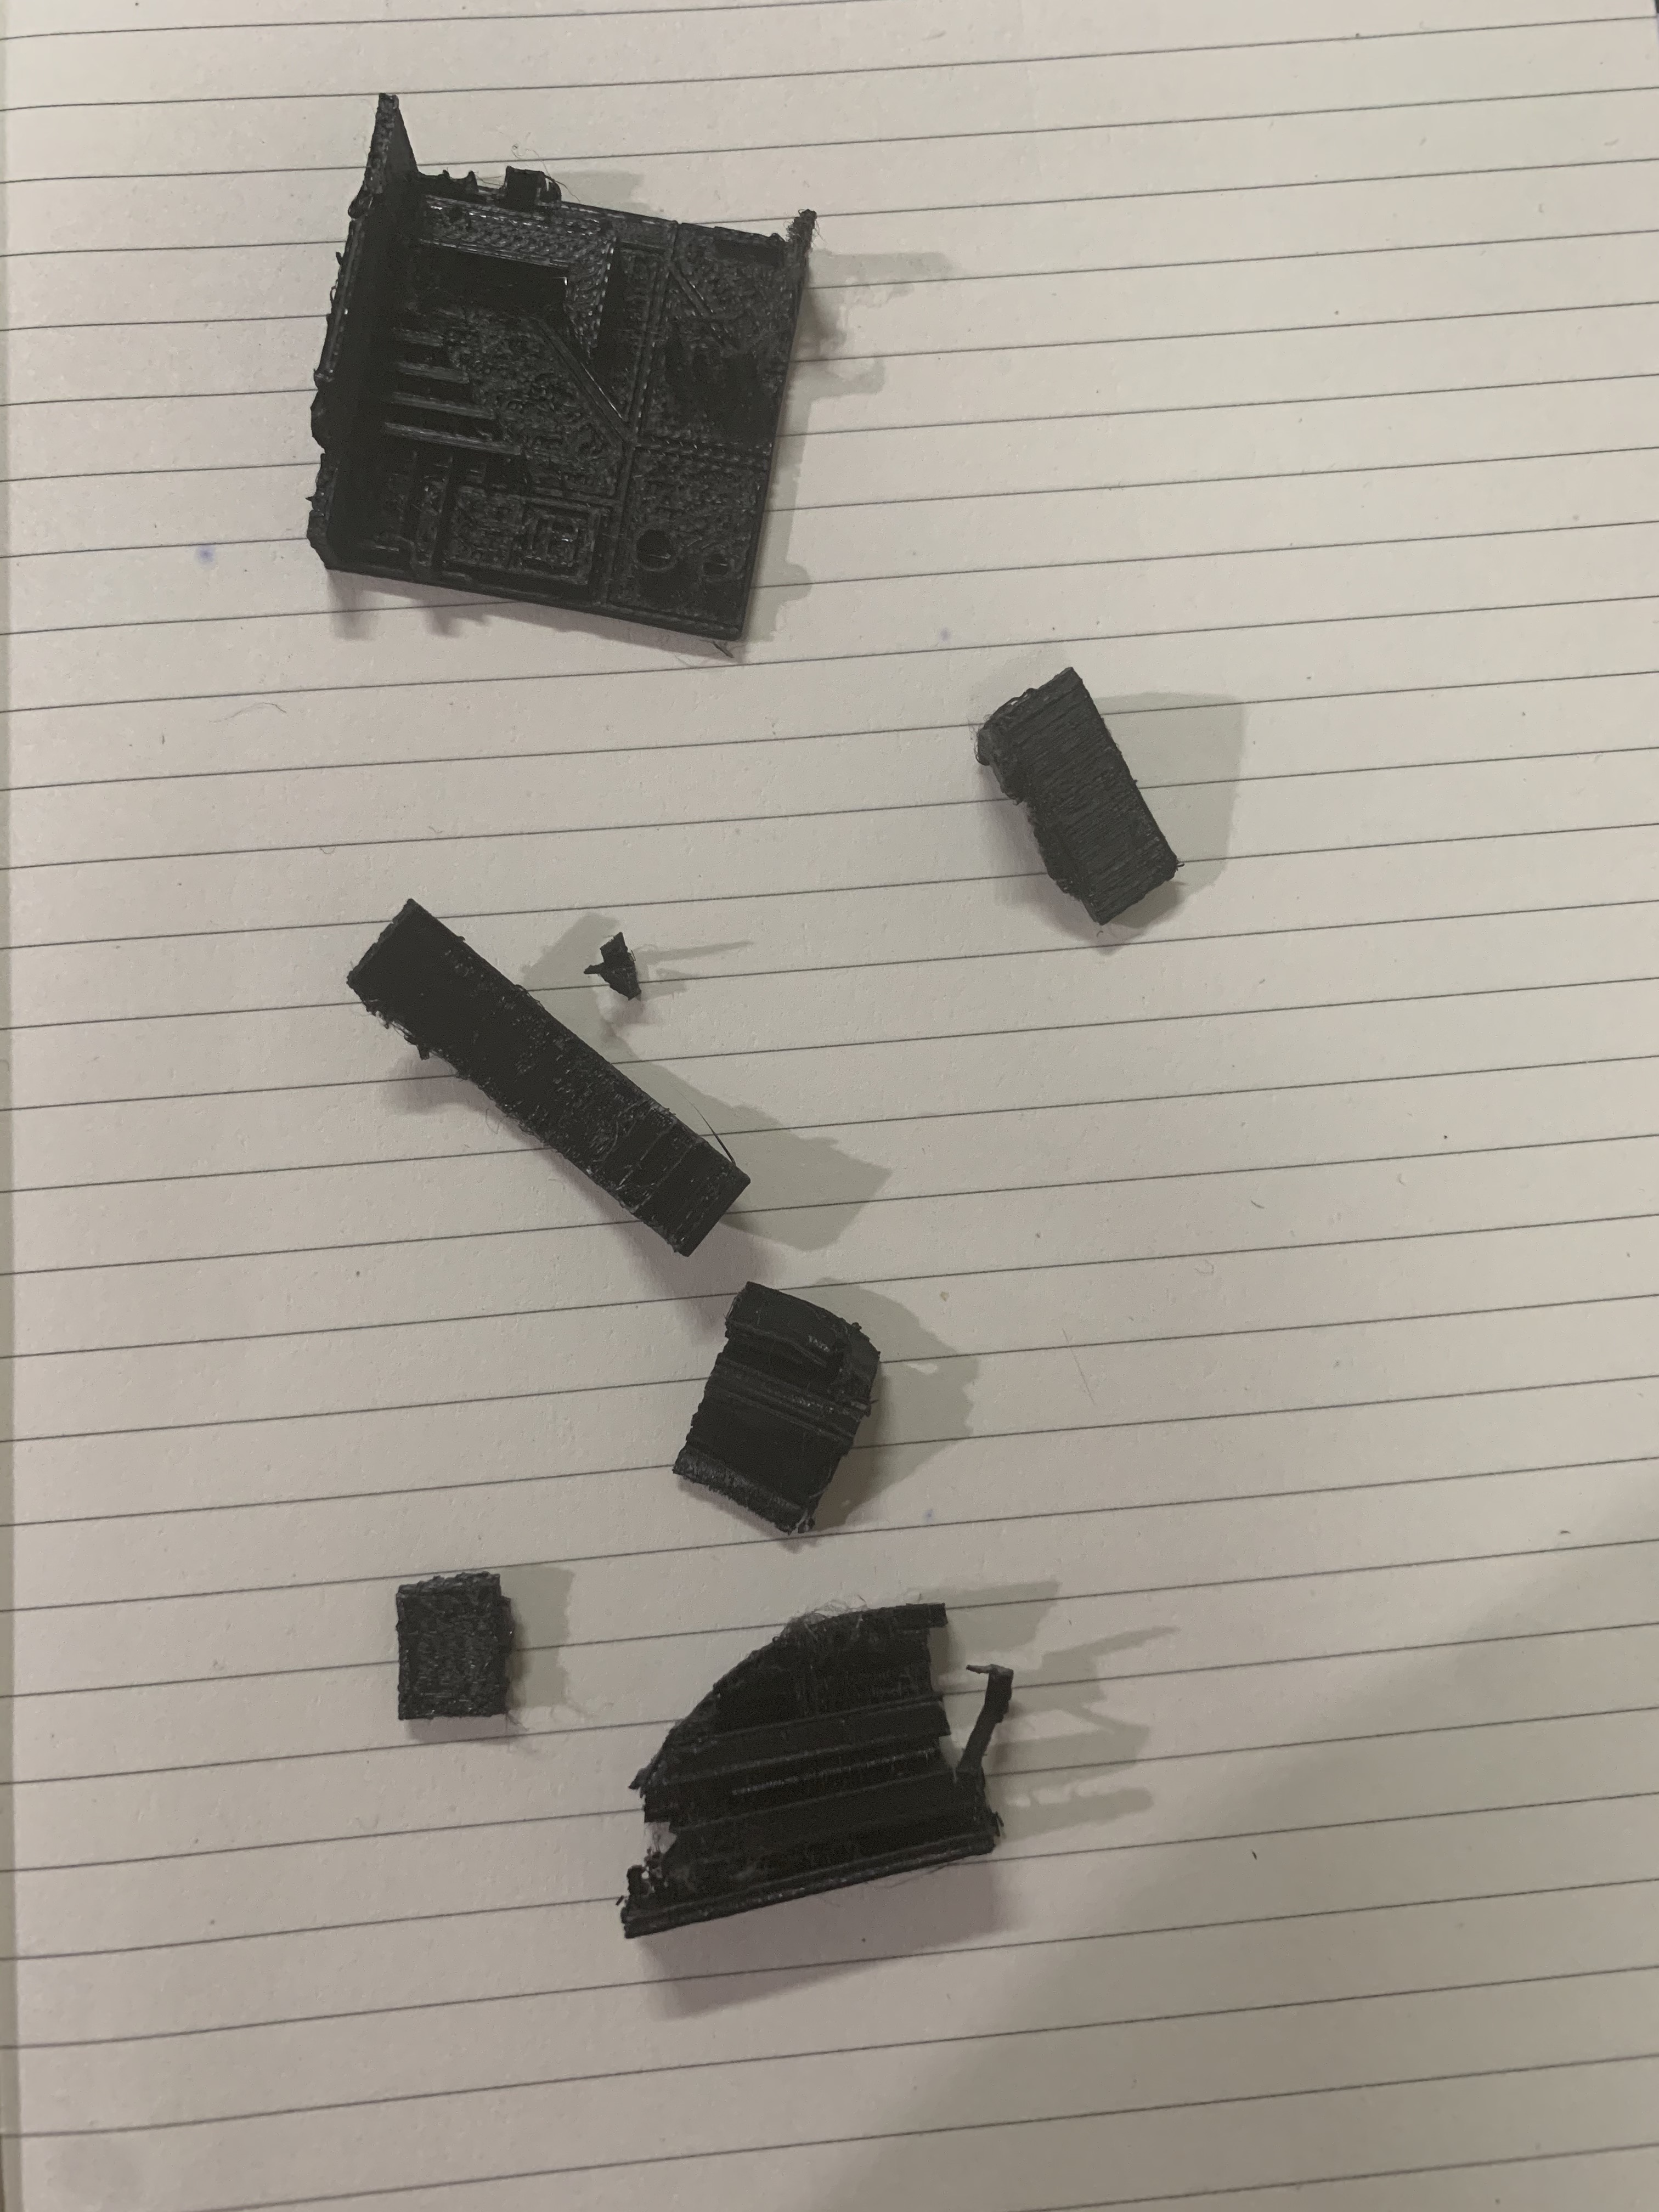
Unfortunately, I don’t have a full picture of the calibration test print. While removing the supports from the object, I inadvertently broke the object – showing how poor the structural integrity of the objcet was since I did not follow the instructions that came with it. (The instructions said to print it at the scale at which the design was and with 100% infill.)
3D Scanning
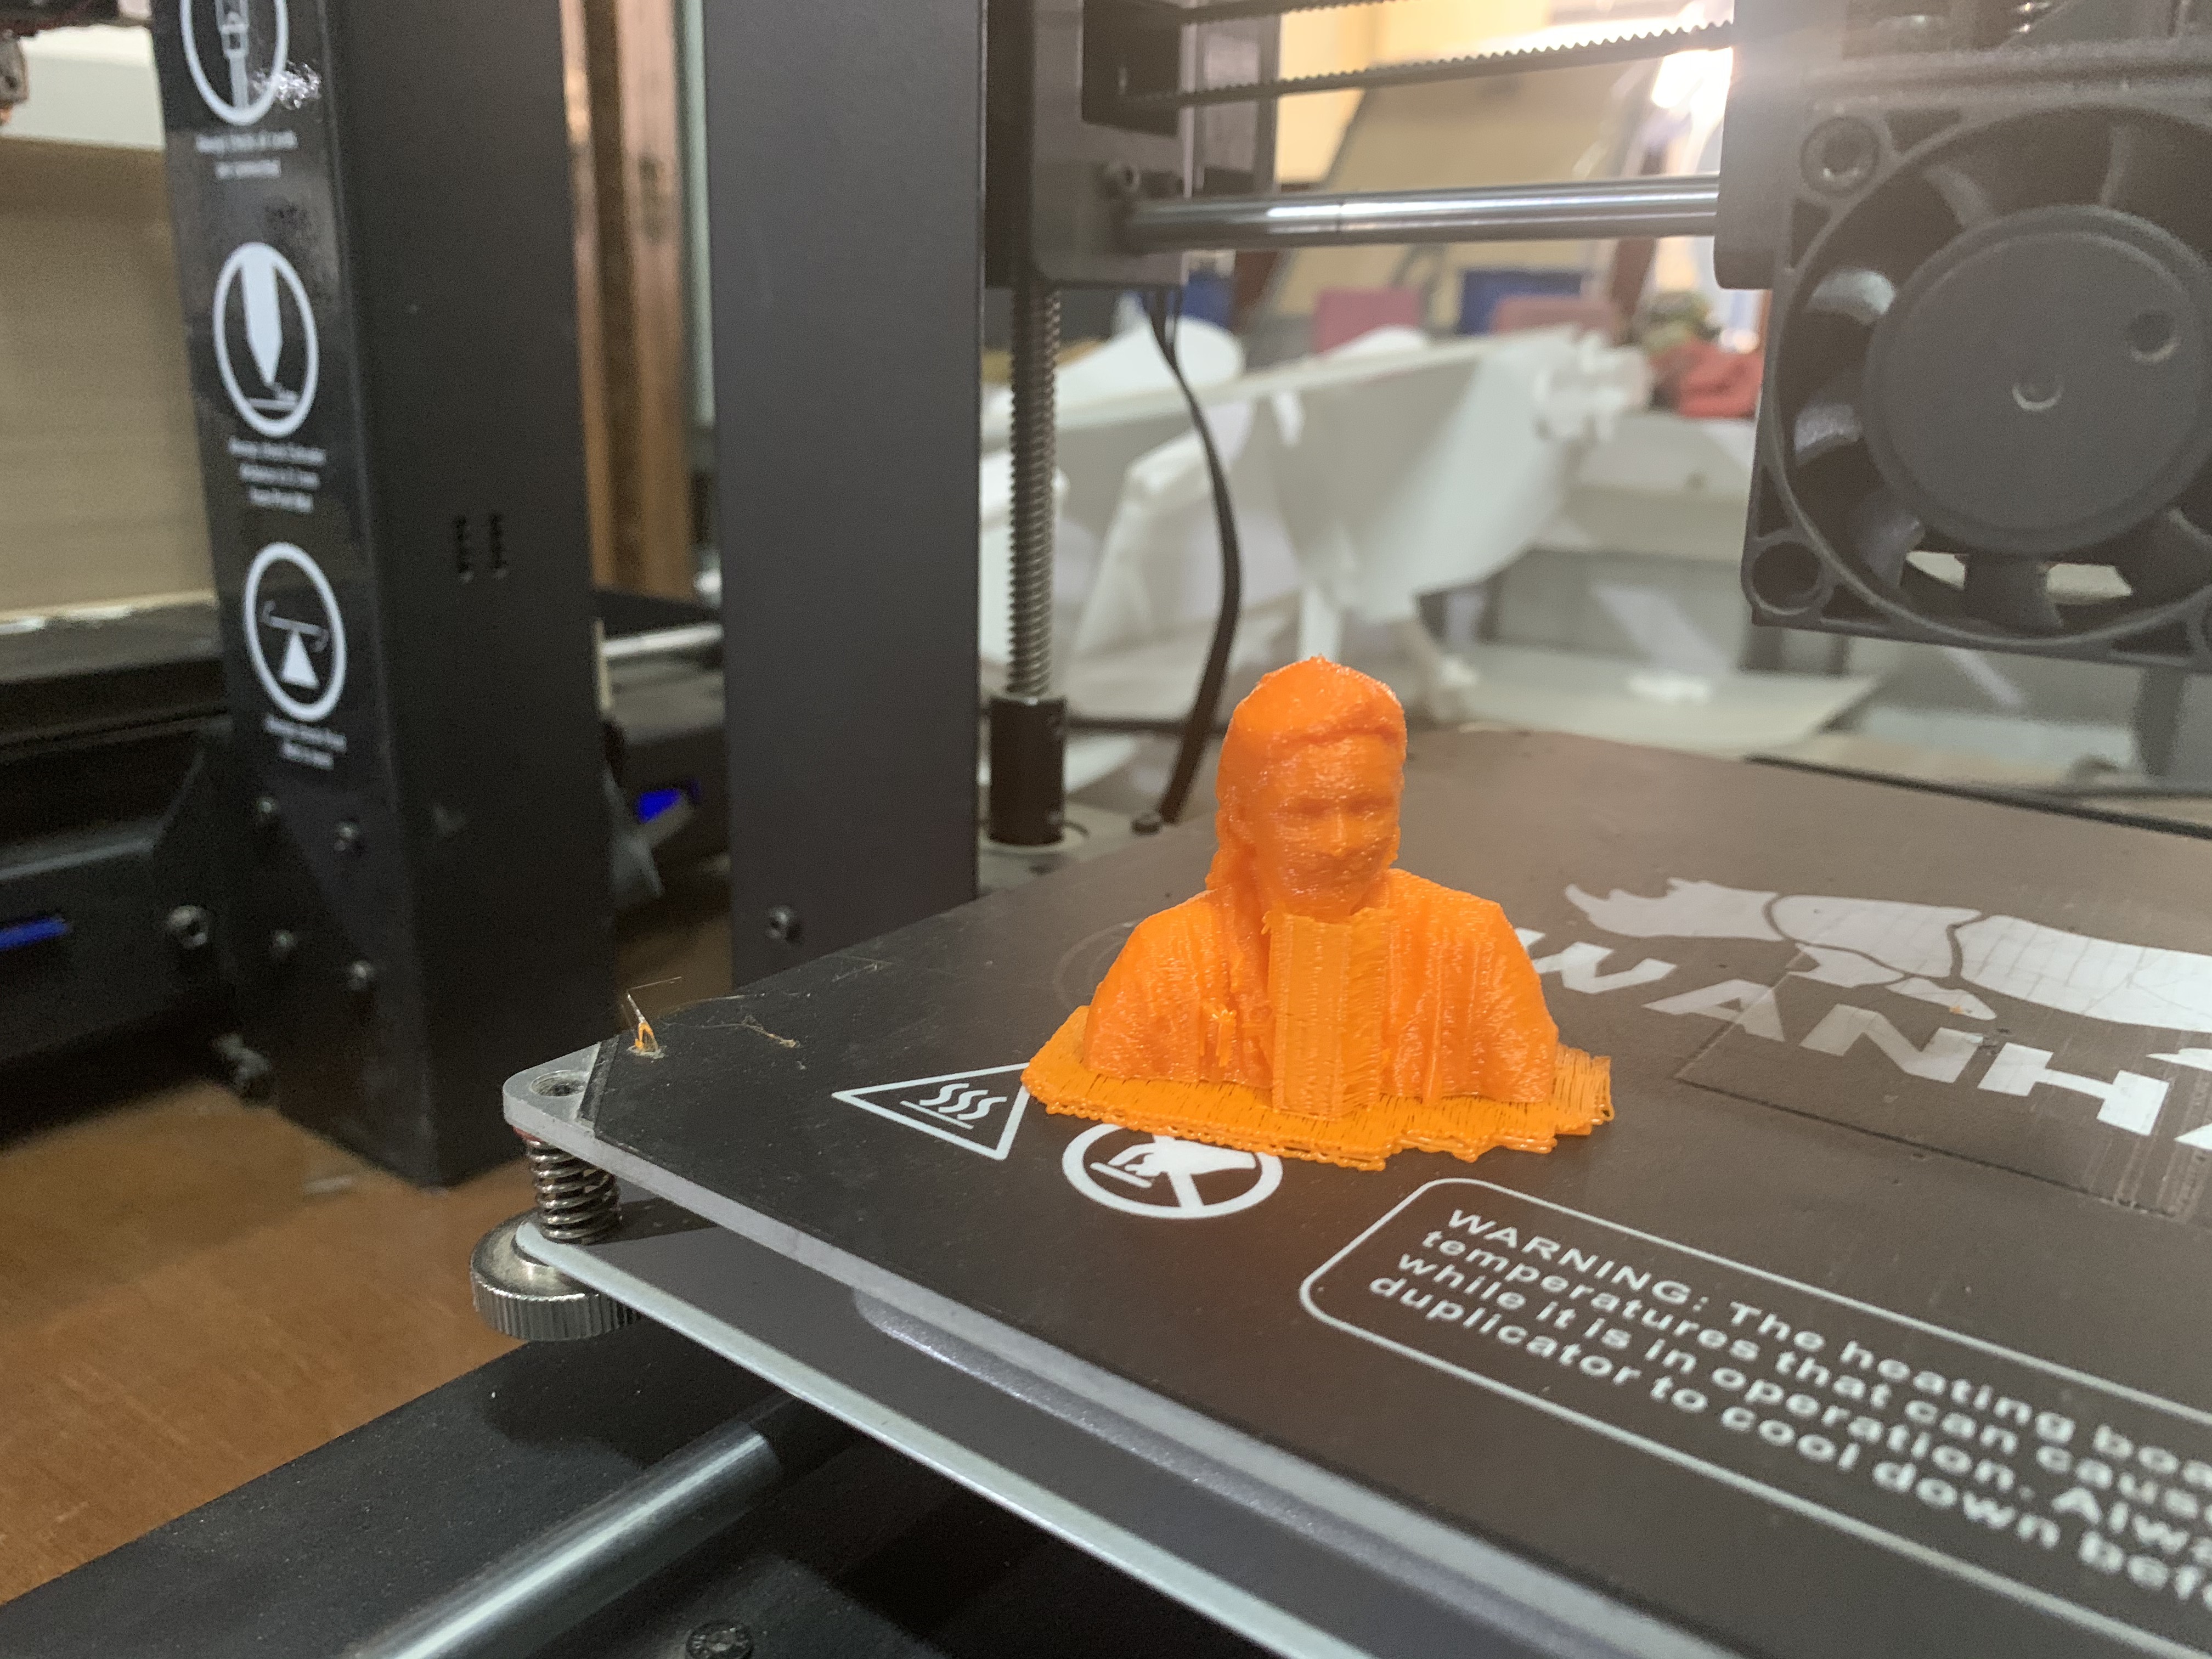
To learn 3D scanning, I used the SENSE handheld scanner – this scanner has a gyroscope and an accelerometer. I can use the scanner to scan an object or a person by moving the scanner horizontally around the object/person at a distance of about 20cms. The scanner is linked to the software SENSE, which captures the image scanned, allowing us to fill in parts of the scan that have not been fully captured, make edits and save as an .stl file. Once saved, we again import the design into CURA for material and printer settings, converting the image to the requisite g-code that will allow us to print the object.
I scanned Abhinaya’s head; she’s an intern at the workshop.
This is what the fully printed head looks like.
Since I wanted to make it as a keychain for her, I then used the 3Doodler, a 3D pen, to add a small hook to attach the keychain links.
This is what the 3D printed object looks like with the hook in place as well.

With this, I completed the module on 3D printing and scanning. Whenever time permits, I will create one more design that can test the 3D printer’s capability – maybe an object with curvature. I will also try to learn about paramteric designing – it seems like a useful skill to learn and apply.